Staging websites
A staging site is a free copy of your production site (what others call the "live site") where you can test and verify changes without risking the real site. When you're happy with the result, you push the changes live to production.
Create a staging site
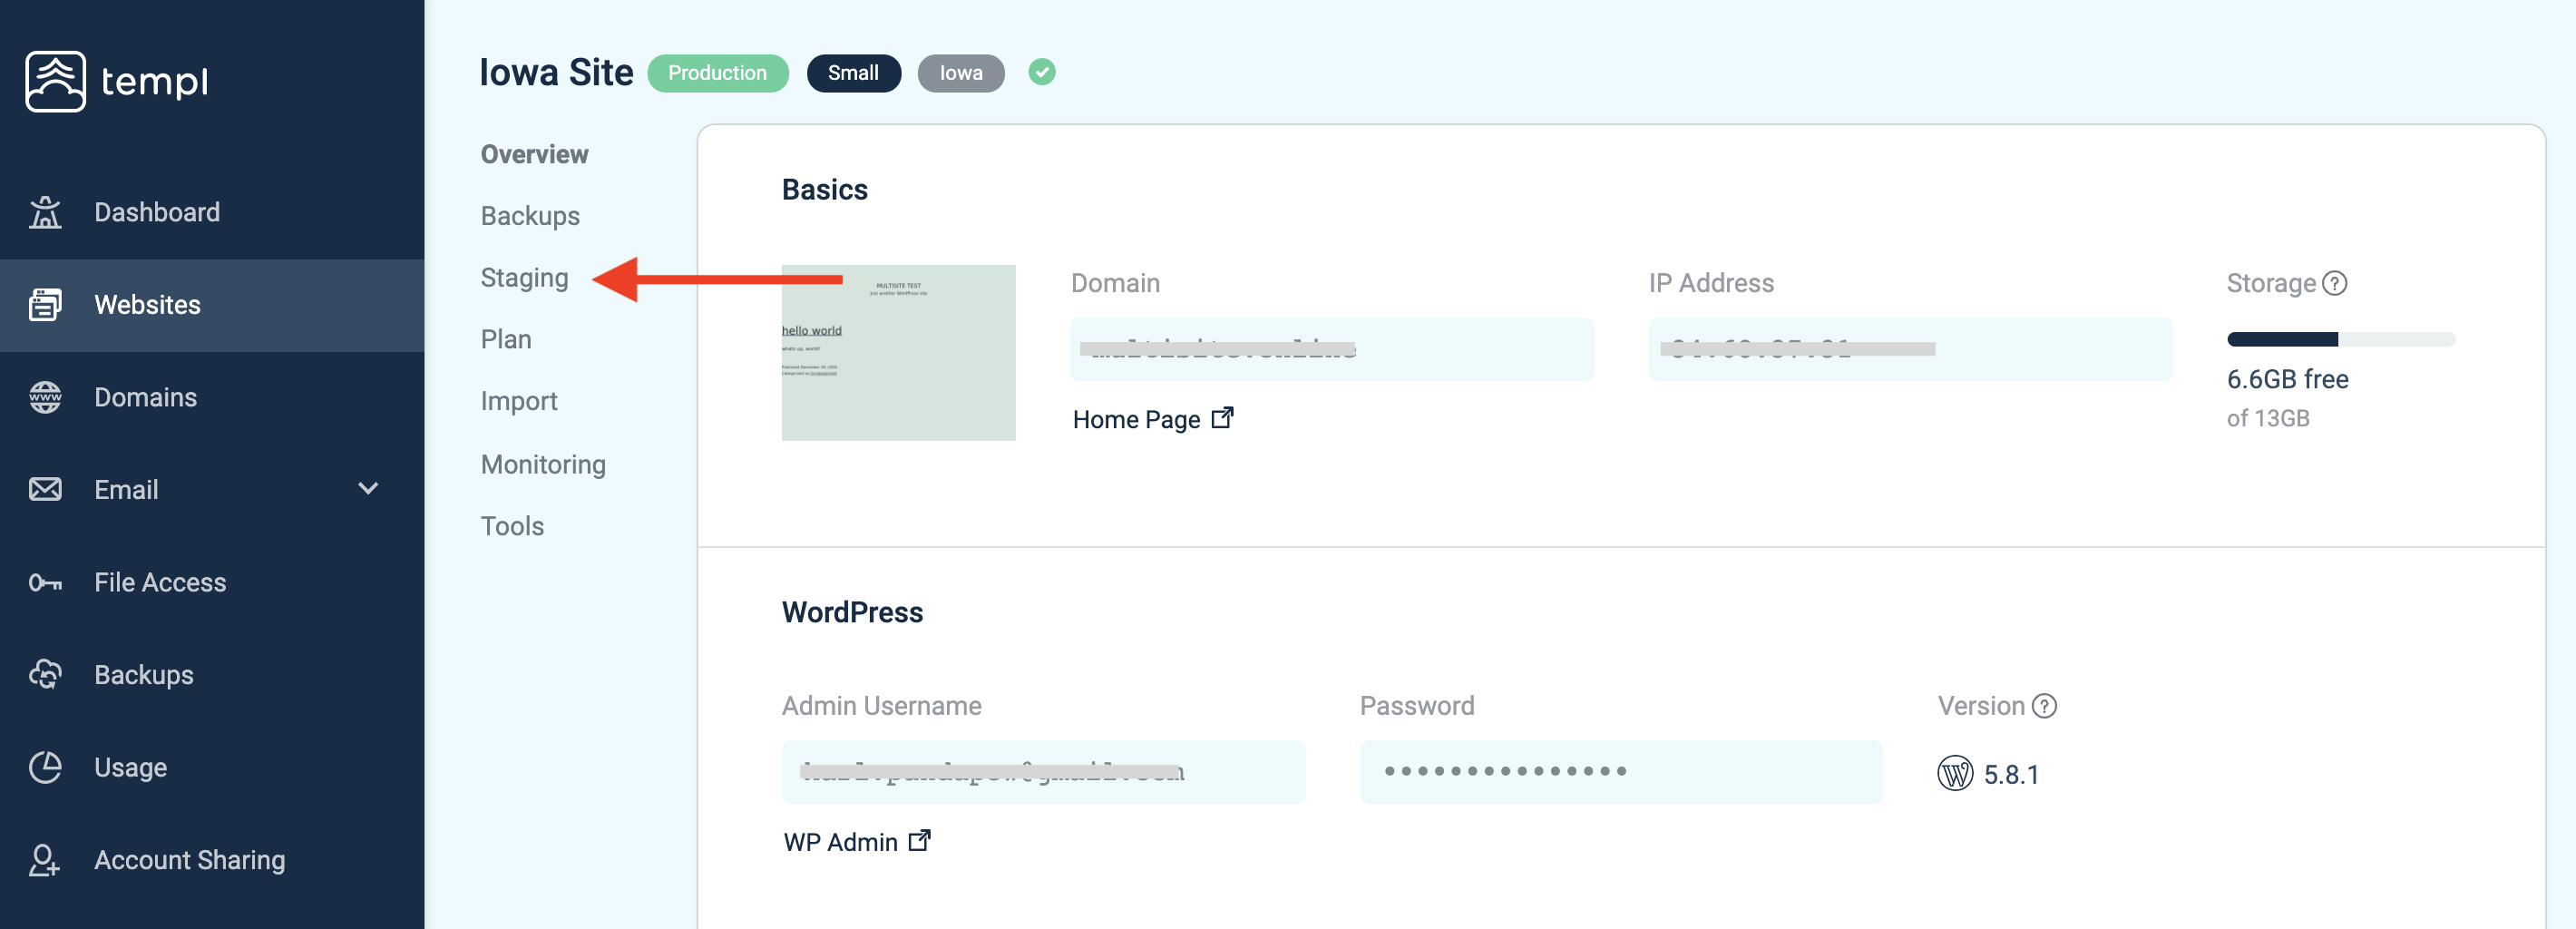
Go to the website's details page, click Staging in the left menu, then click Create.
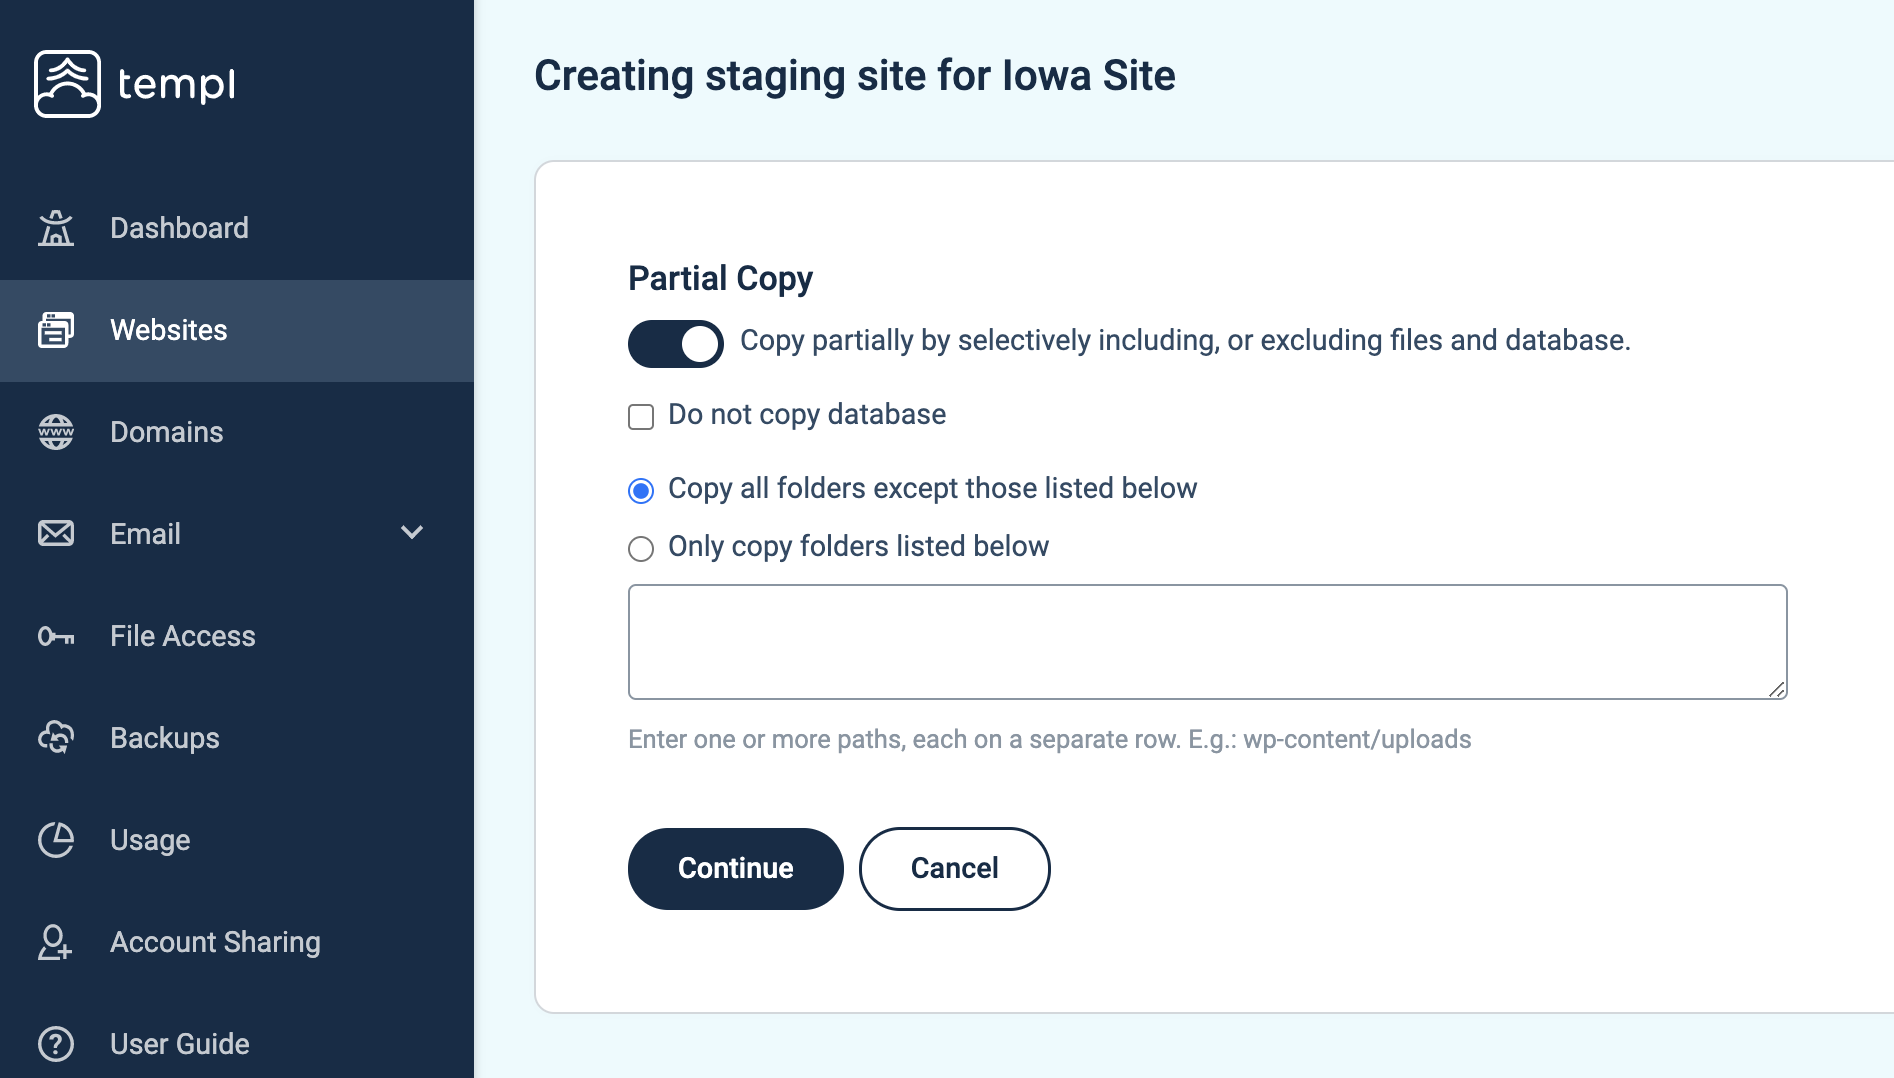
Optionally, include or exclude specific files and the database, for example to skip a large uploads folder.
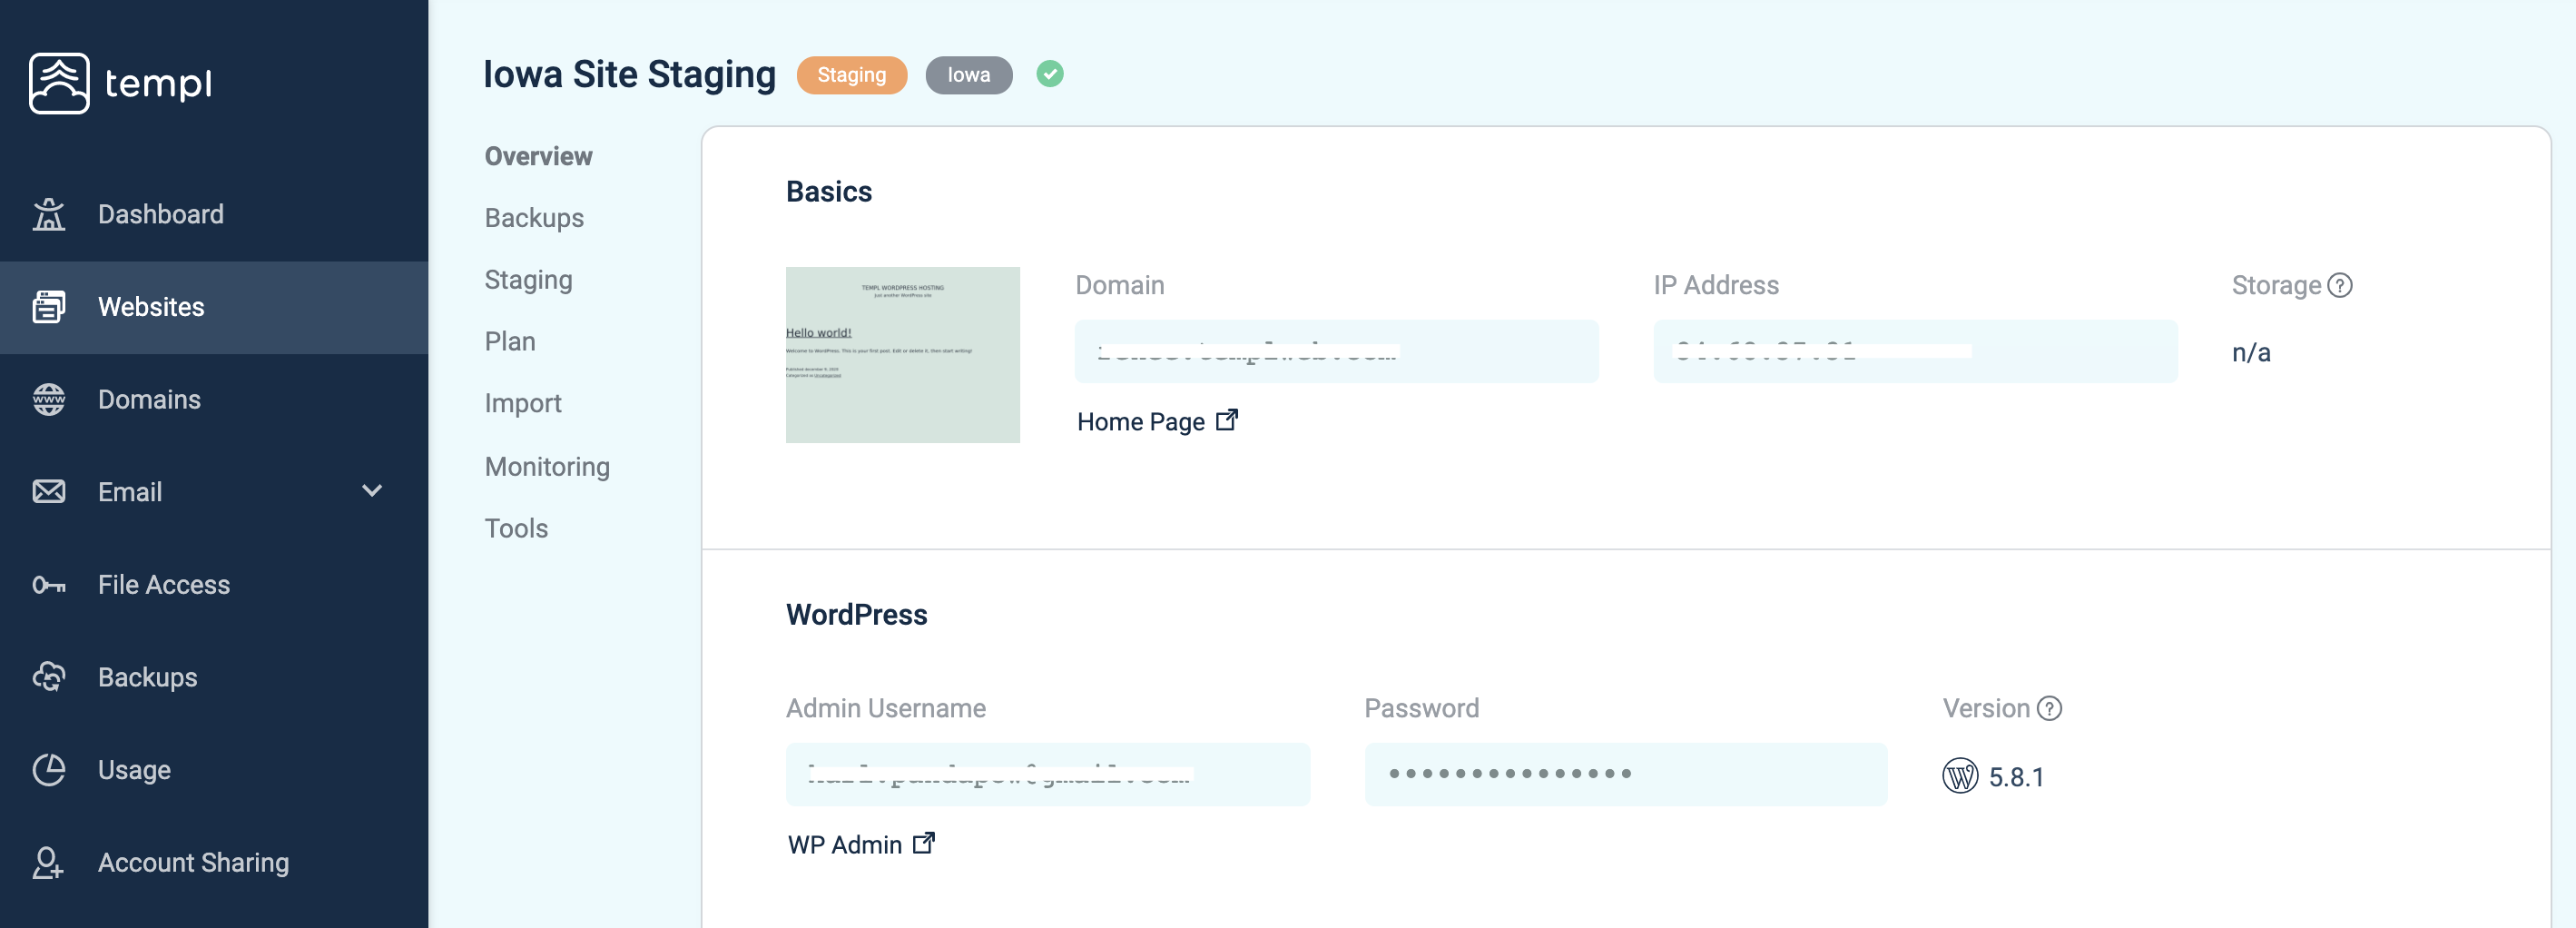
Setup takes up to a few minutes while your files and database are copied. The staging site gets its own auto-assigned *.templweb.com domain with SSL included.
One staging site per website
Each production site can have one staging site.
If you need a second environment alongside staging, for example a long-lived one for building new features while staging stays available for quick tests, use a separate website instead:
- Clone the production site from the Import/migration tab and pick a Development (Micro) or Development (Small) plan for the copy.
- Build and test on that site.
- When you want the changes on production, clone back the other way using Clone to existing website, copying only the files you changed.
A development plan is free with no time limit, and every paying customer gets one development site (partners get an unlimited number).
Custom domain on a staging site
By default, a staging site uses its auto-assigned *.templweb.com domain with SSL included. To use a custom domain like staging.yourdomain.com instead, contact support.
Work on the staging site
Log in to the staging site's WordPress admin with the same credentials as your production site (as of when the staging site was created).
For file access, set up file access and use the webroot folder listed on the Website Details page. Production and staging are isolated and use different SFTP ports.
Push staging changes to production
Once you're happy with your changes, make them live from the Staging page: select Copy from staging to production, then click Continue to next step.
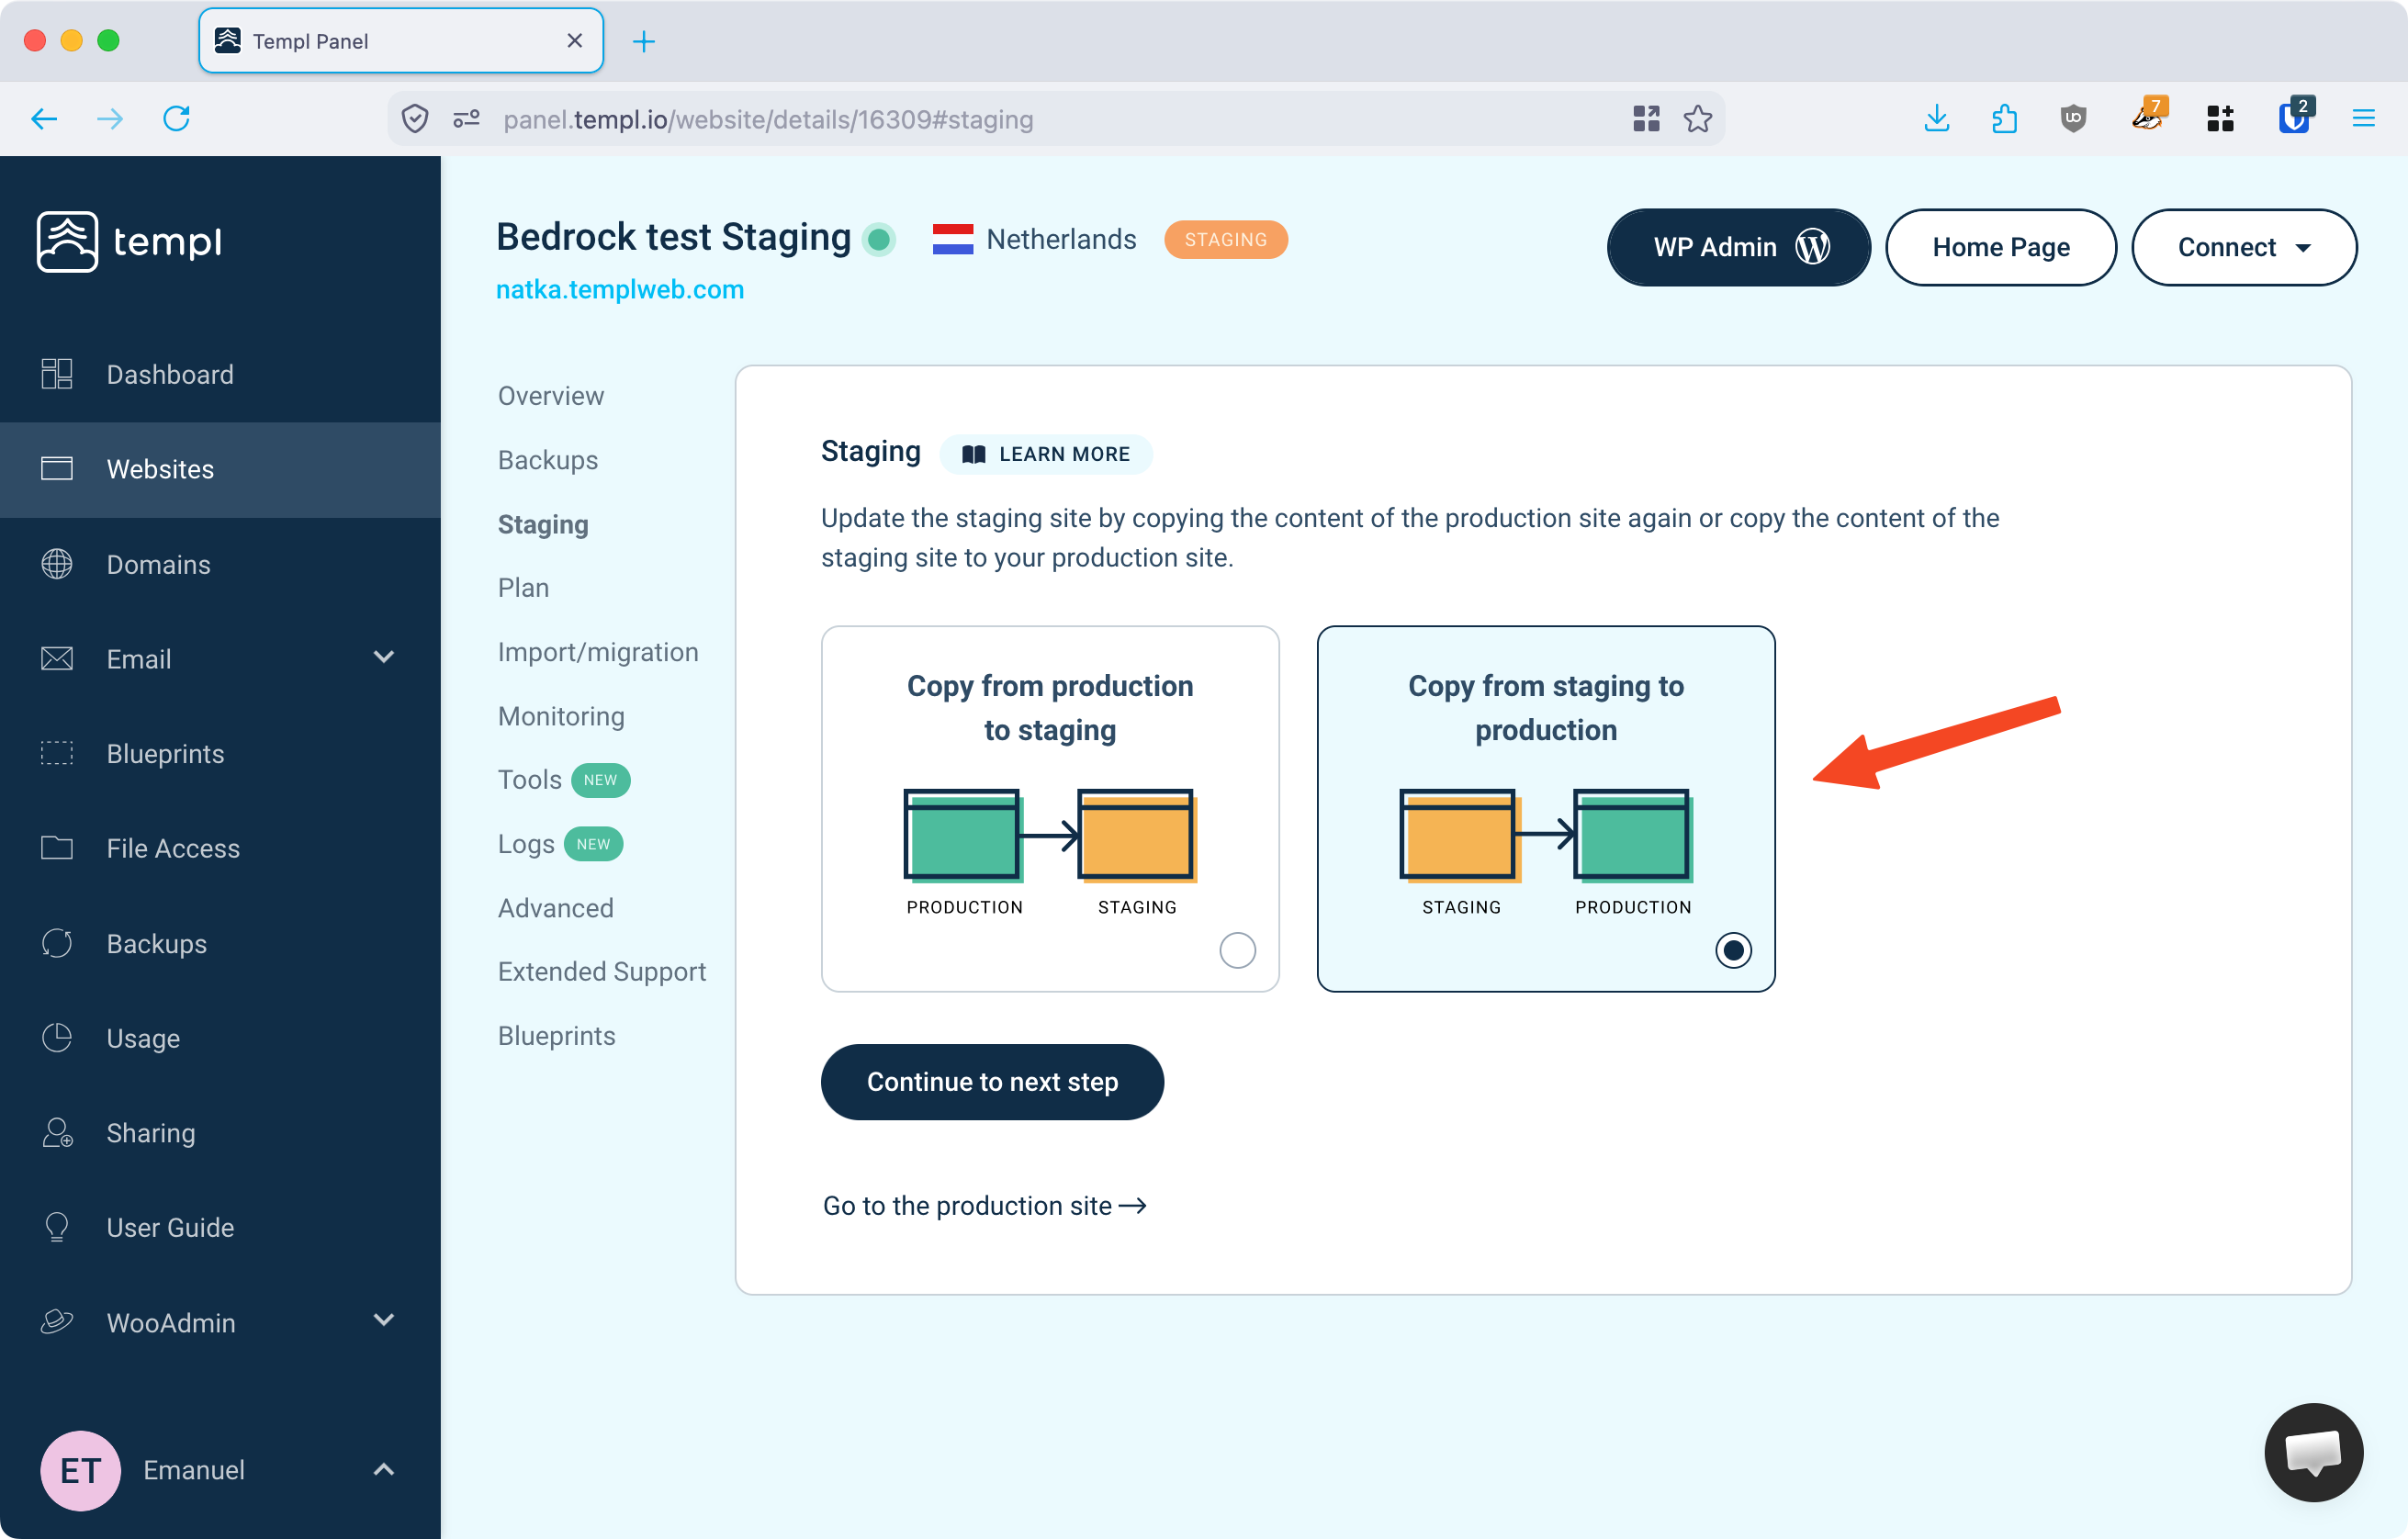
On the next step you choose what to copy:
- Files - themes, plugins and other WordPress files.
- Database - posts, pages, settings and everything else stored in the database.
As with creating a staging site, you can selectively include or exclude specific files. URLs in the database are search-replaced automatically, so links point at the production domain.
Refresh the staging site
If production changed after you created the staging site, bring staging up to date in one of two ways:
- On the Staging page, select Copy from production to staging - only copies changed files, so it's fast.
- Delete the staging site and create a new one for a completely fresh copy.
Delete staging site
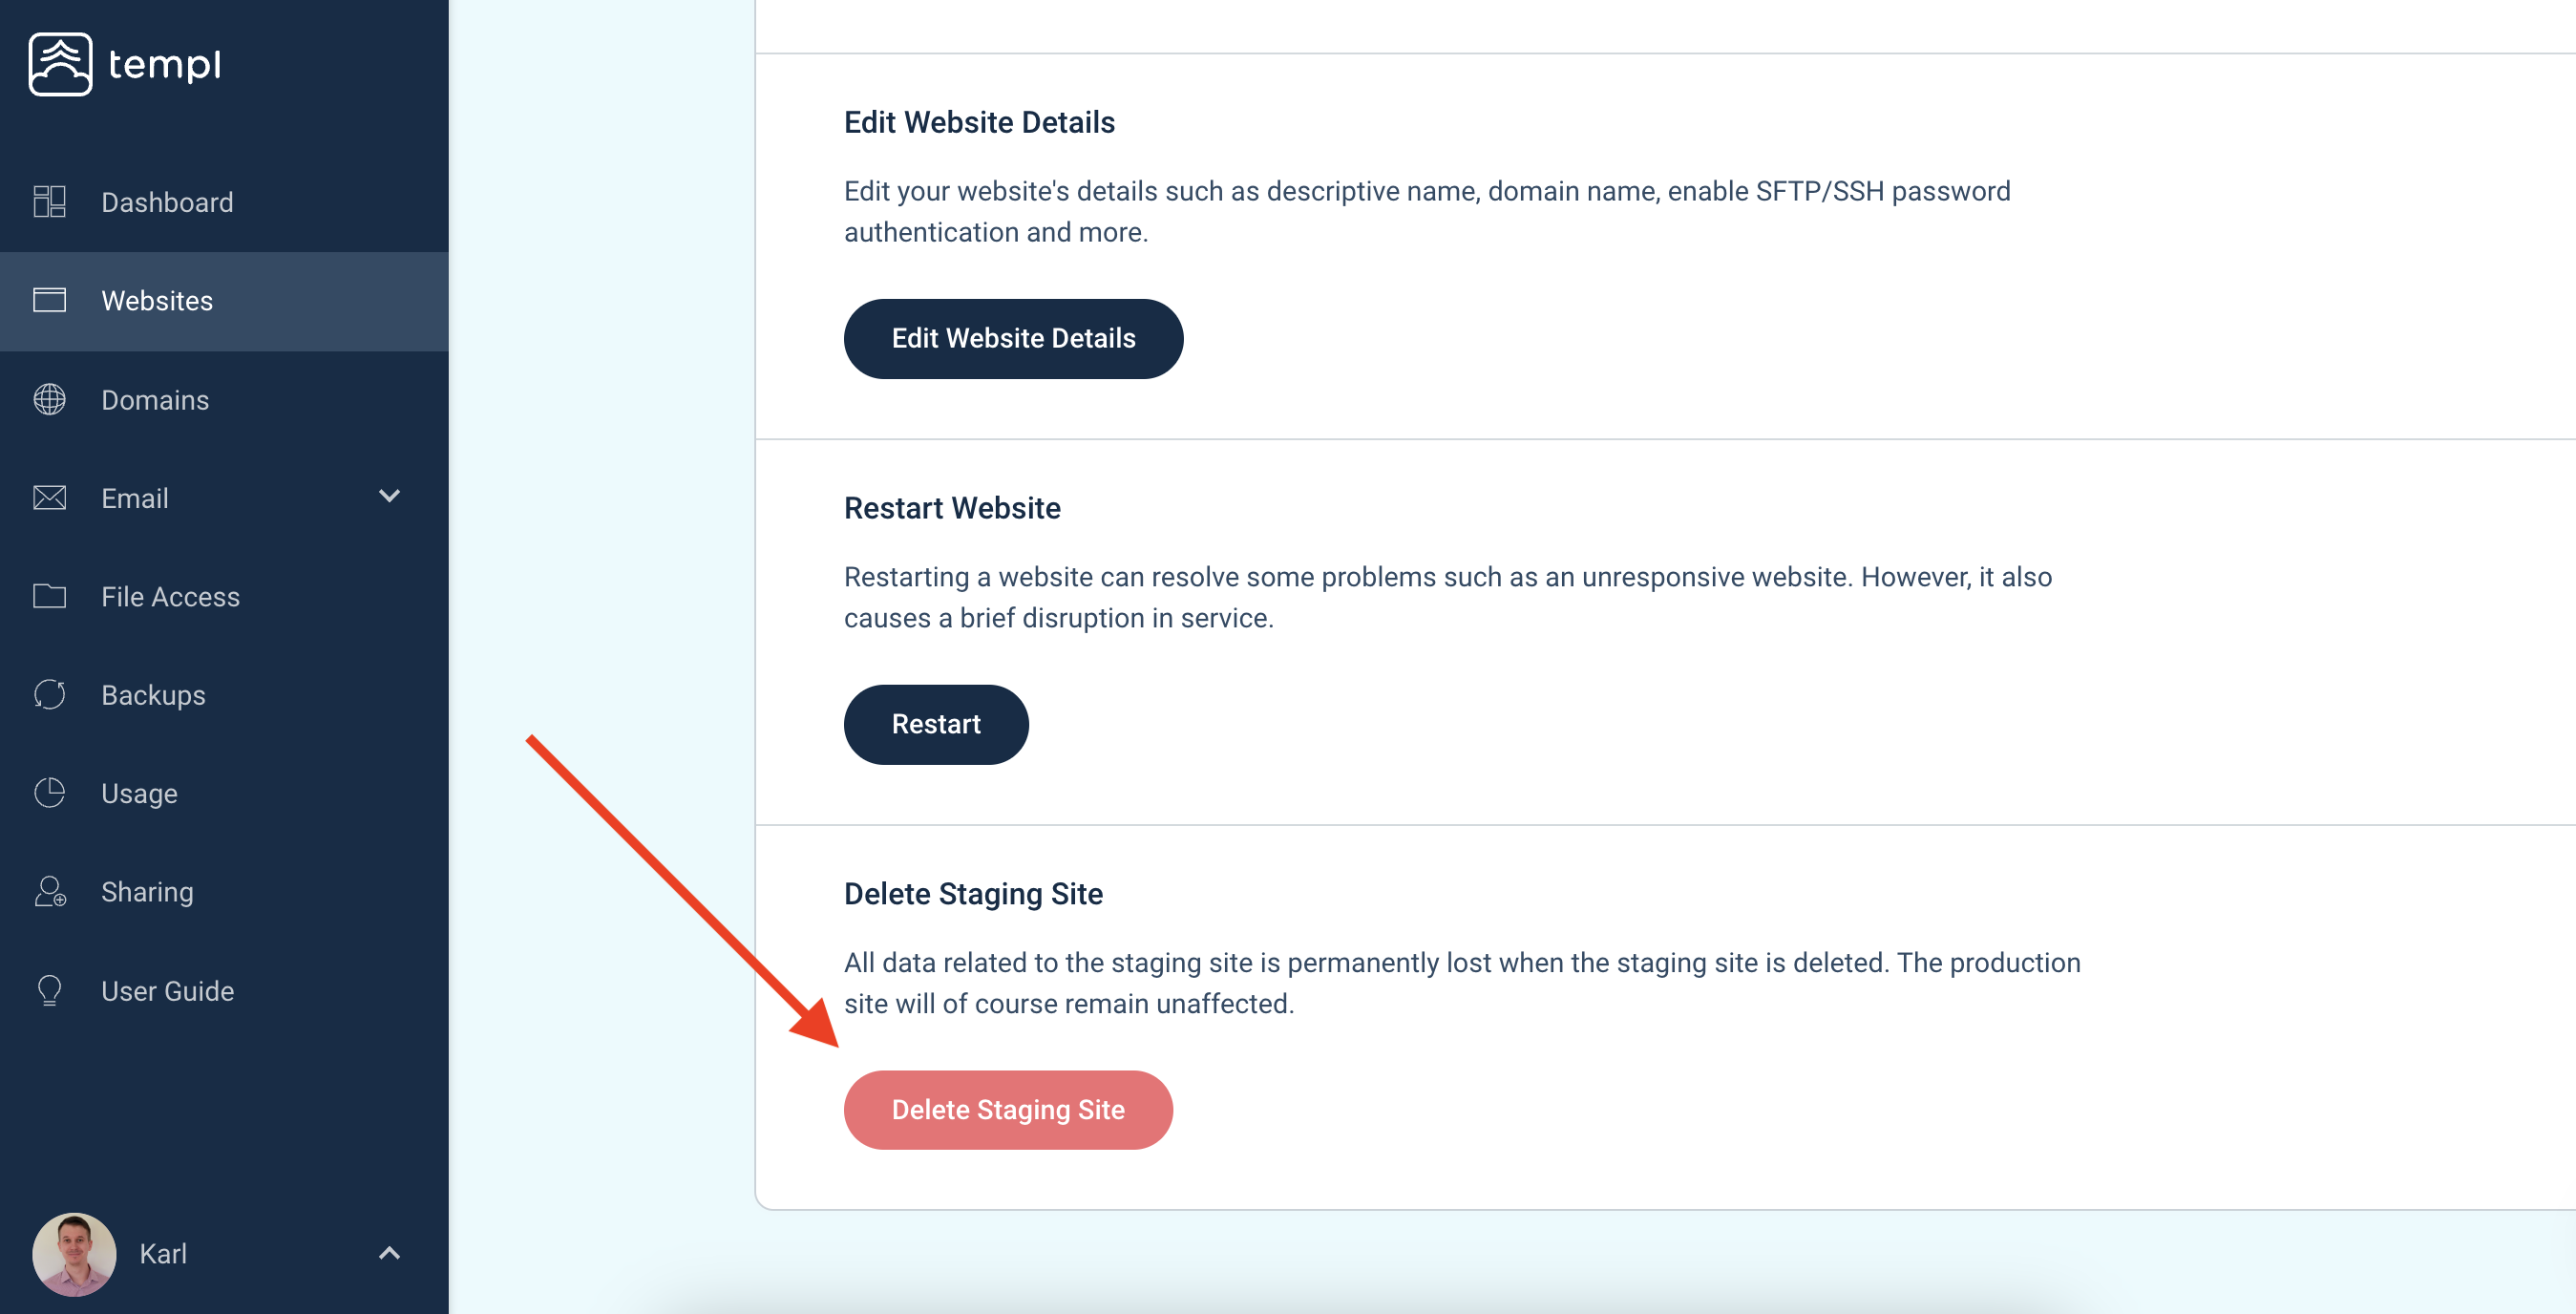
Click the Delete button next to Edit Website Details on the staging site. This is safe and does not affect your production site. It frees the disk space the staging site used, which is a quick way to get back under your disk limit.
Deleting a staging site also deletes any local backups you created on it, since those are stored inside the staging environment. Download them first if you want to keep them.