Restore a backup
Restoring a backup rolls a website back to an earlier snapshot of its files and database, whether from the same site, a deleted site, or a backup file you upload. This page walks through the steps and what to expect afterwards.
Steps to restore a backup
- Navigate to restore backup options:
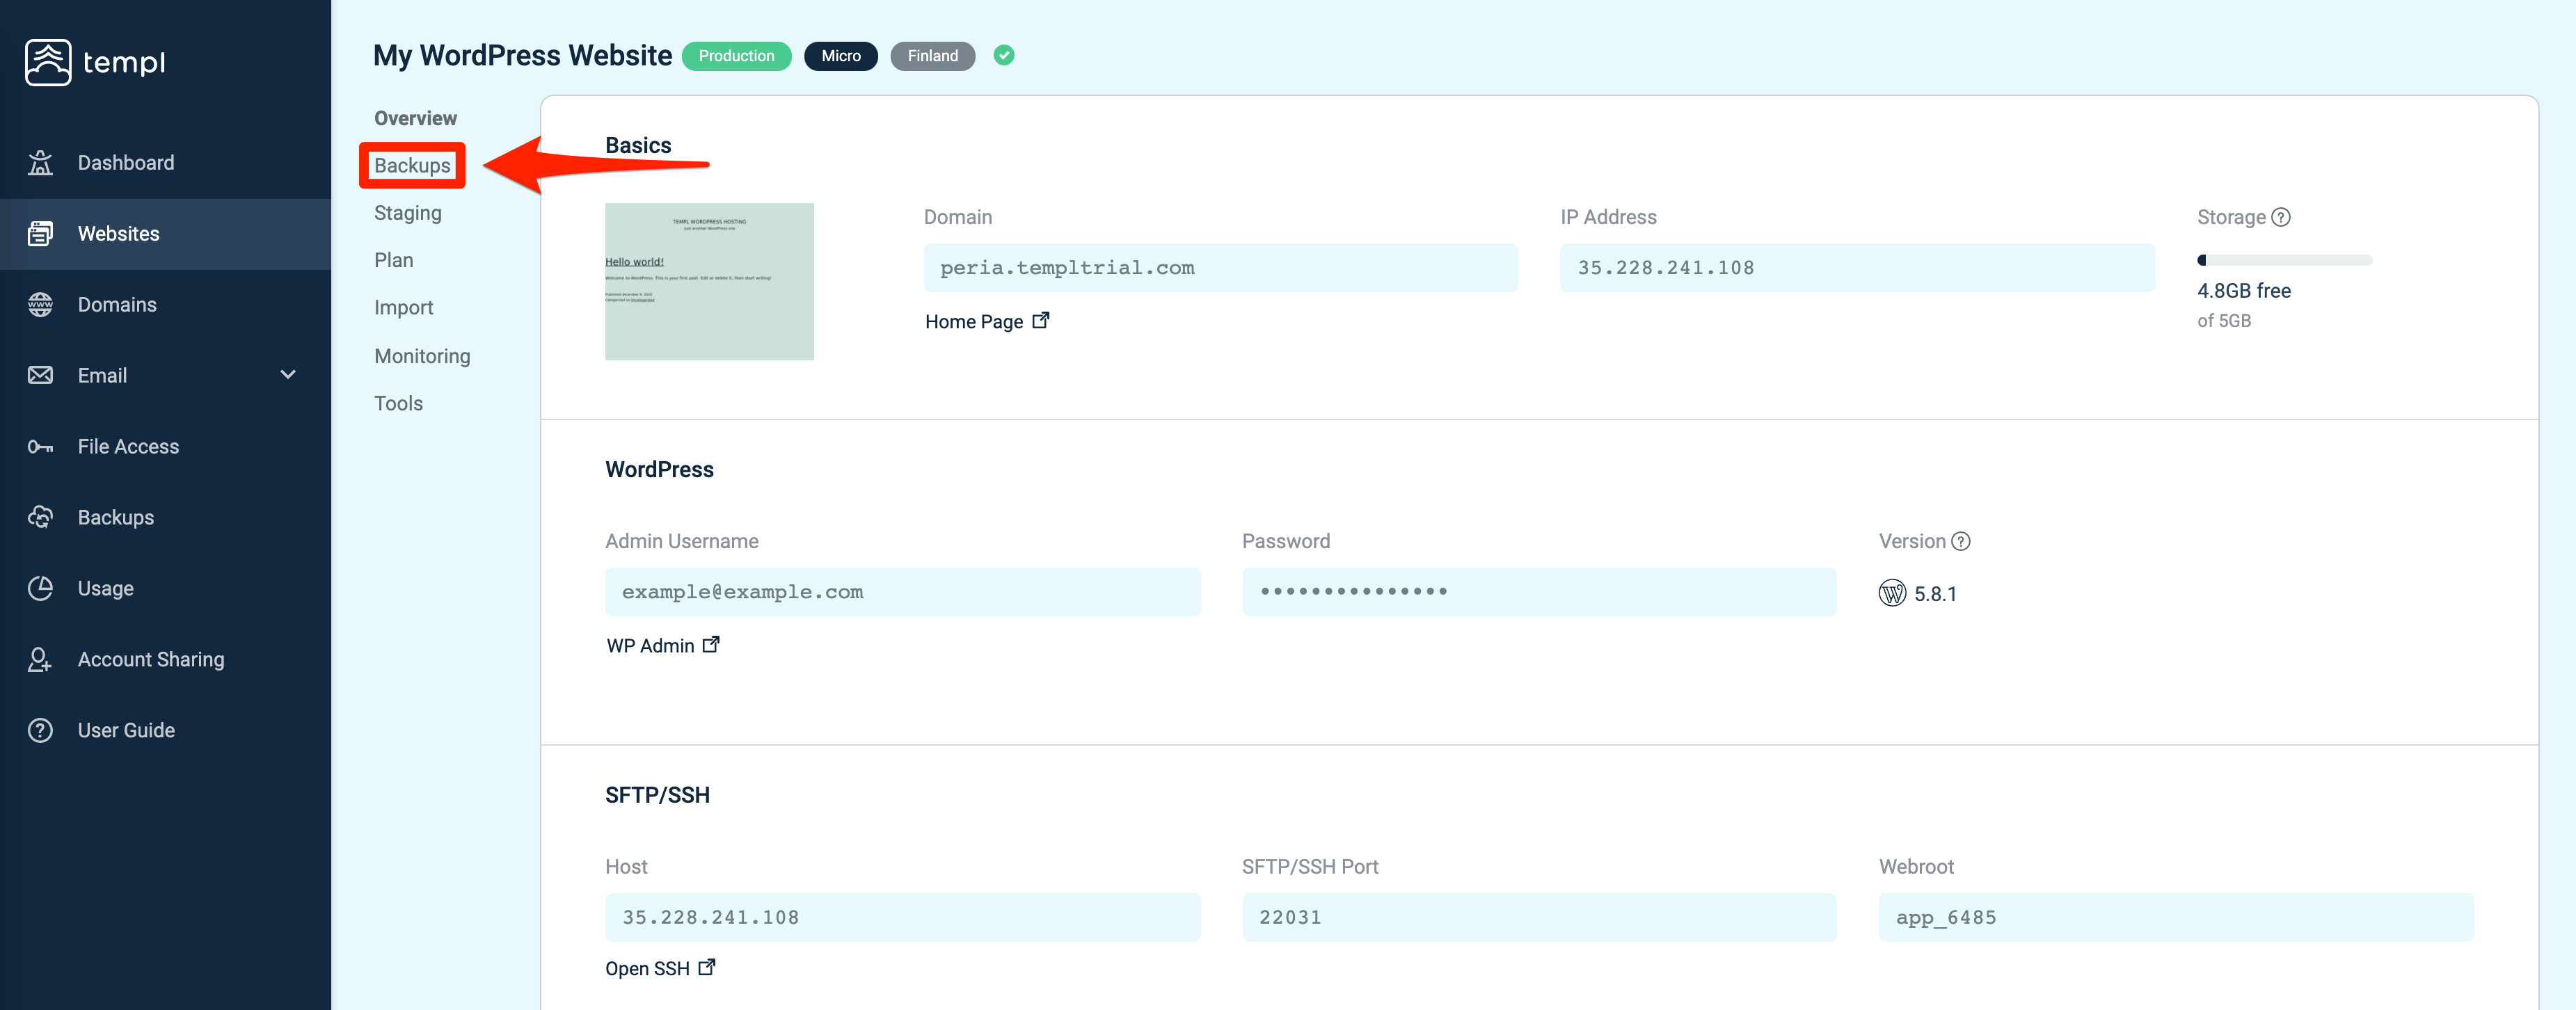
- Go to Websites in the Templ Panel and click on the website you want to restore a previous version (backup file) of.
- In the sub-menu, click on Backups, then click Restore Backup.
- Choosing the backup source:
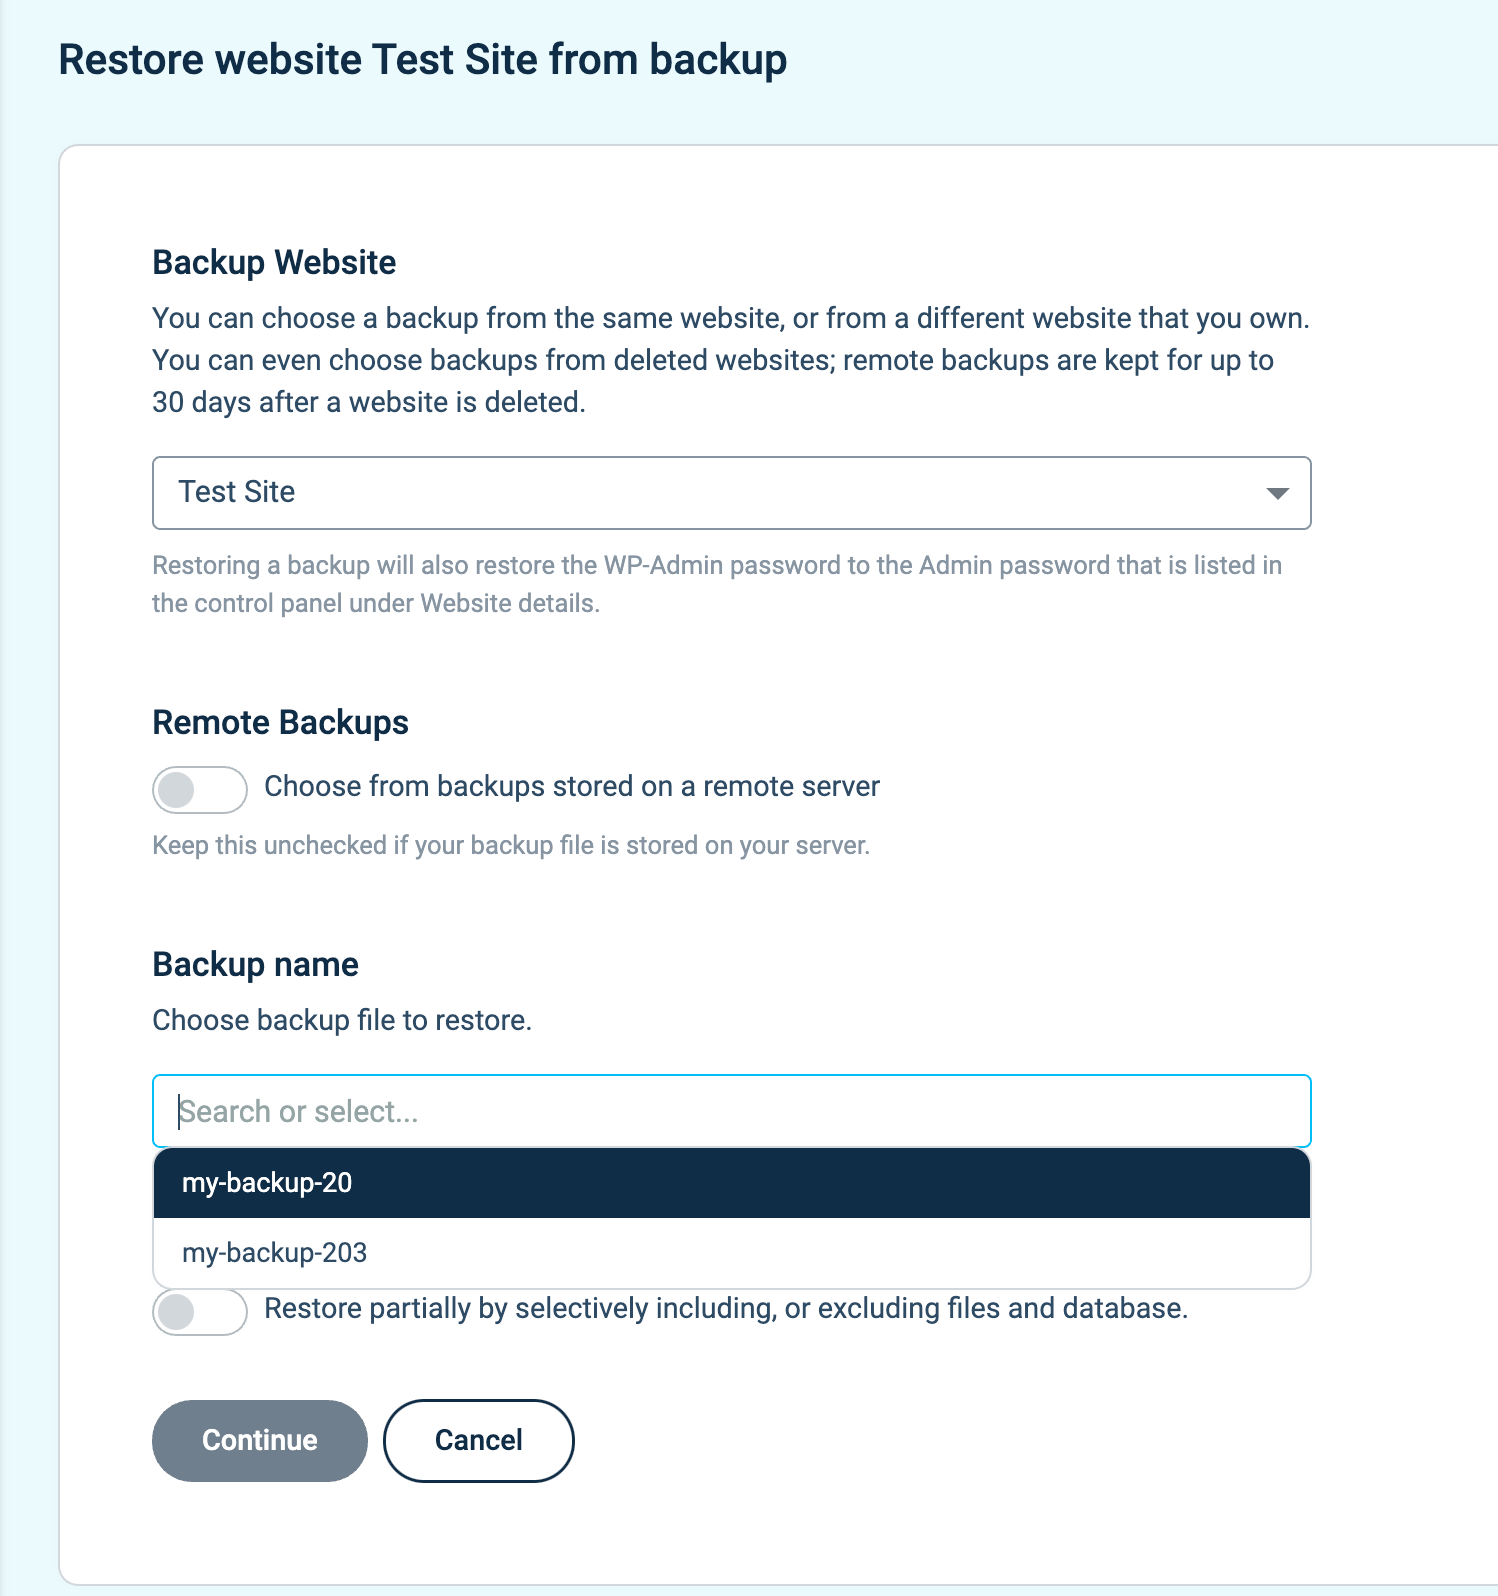
- You can select a backup of a website from the same Templ account, or even from a website that has been deleted. Remote backups are kept for up to 30 days after a website is deleted (see Backup retention).
- Select backup Type:
- Remote Backups: Check the box to restore a remote backup. Leave it unchecked if you wish to restore a local backup. Backups are timestamped according to your local time zone.
- Identify the backup:
- Locate and select the backup file you want to restore by its name.
- Restoration process:
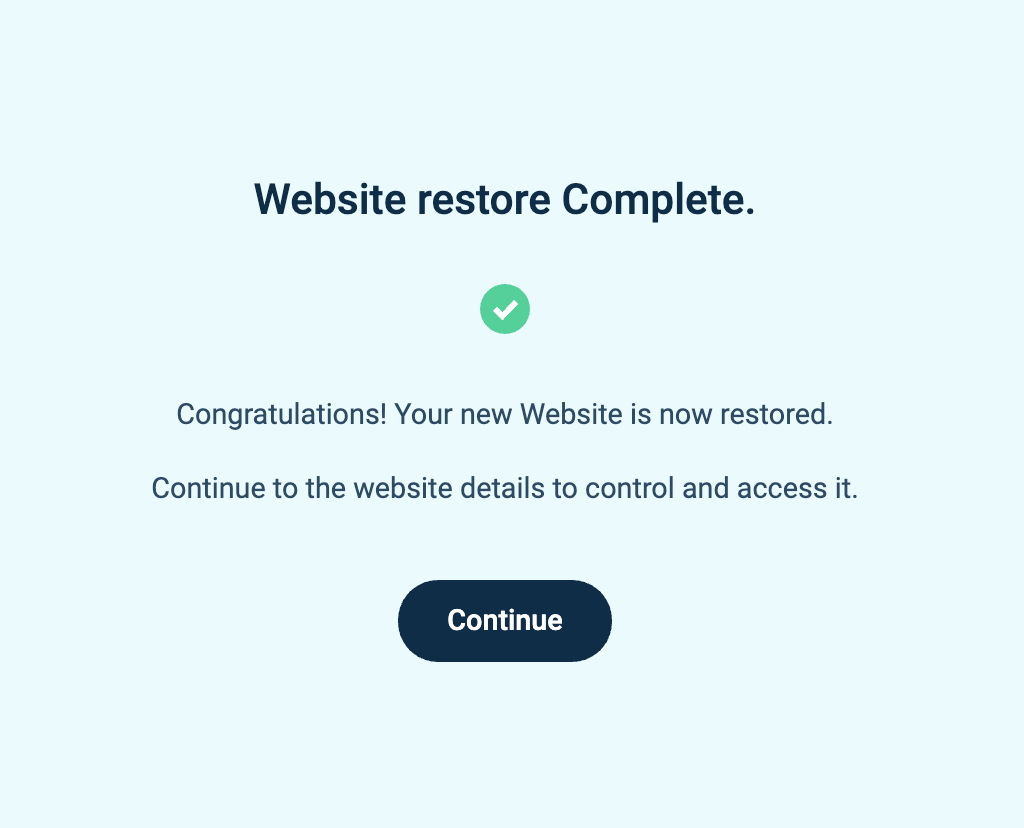
- Click Continue and wait for the restoration process to complete. It can take several minutes.
Partial restore options
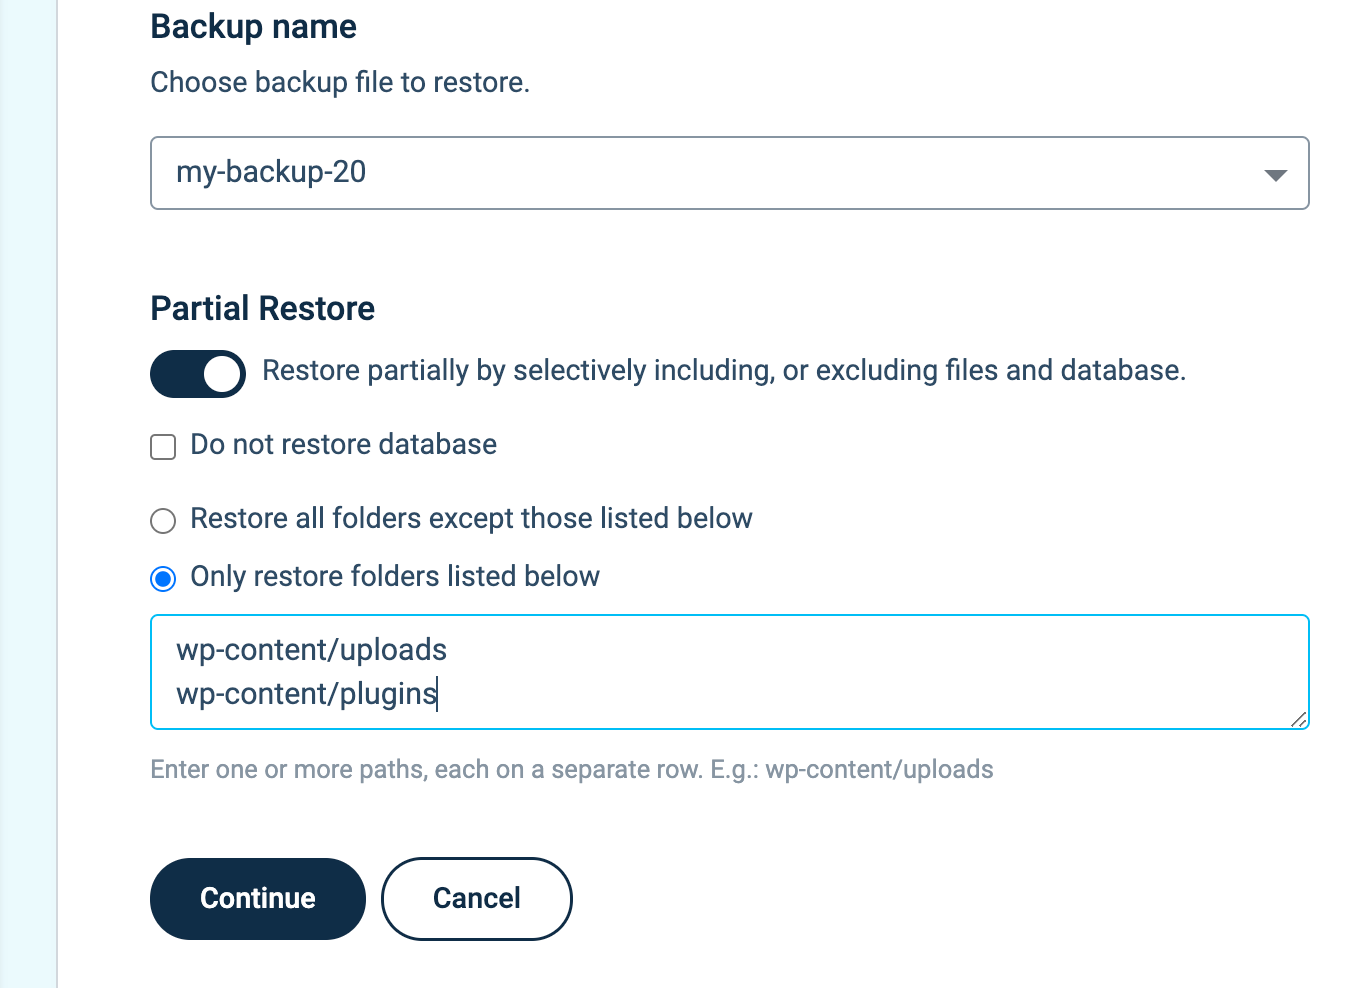
Restore parts of a backup by selectively including, or excluding files and database.
- For example, you can restore only the folders
wp-content/uploadsandwp-content/plugins, along with the database, by selecting Only restore folders listed below and entering:wp-content/uploads wp-content/plugins
No other files will be restored. - Alternatively, you can choose to restore everything except certain folders.
- If you do not want to restore the database, check the box next to Do not restore database.
Import a backup from a link
You can also import a Templ backup file into a website using a download link. This is useful for moving a website between accounts, since the Import menu accepts a backup link from any Templ website you have access to.
Step 1 - Get the download link to your backup file
In the Templ Panel, click Backups in the left panel and choose your website. Select the local or remote backup you want to import and click Generate link.
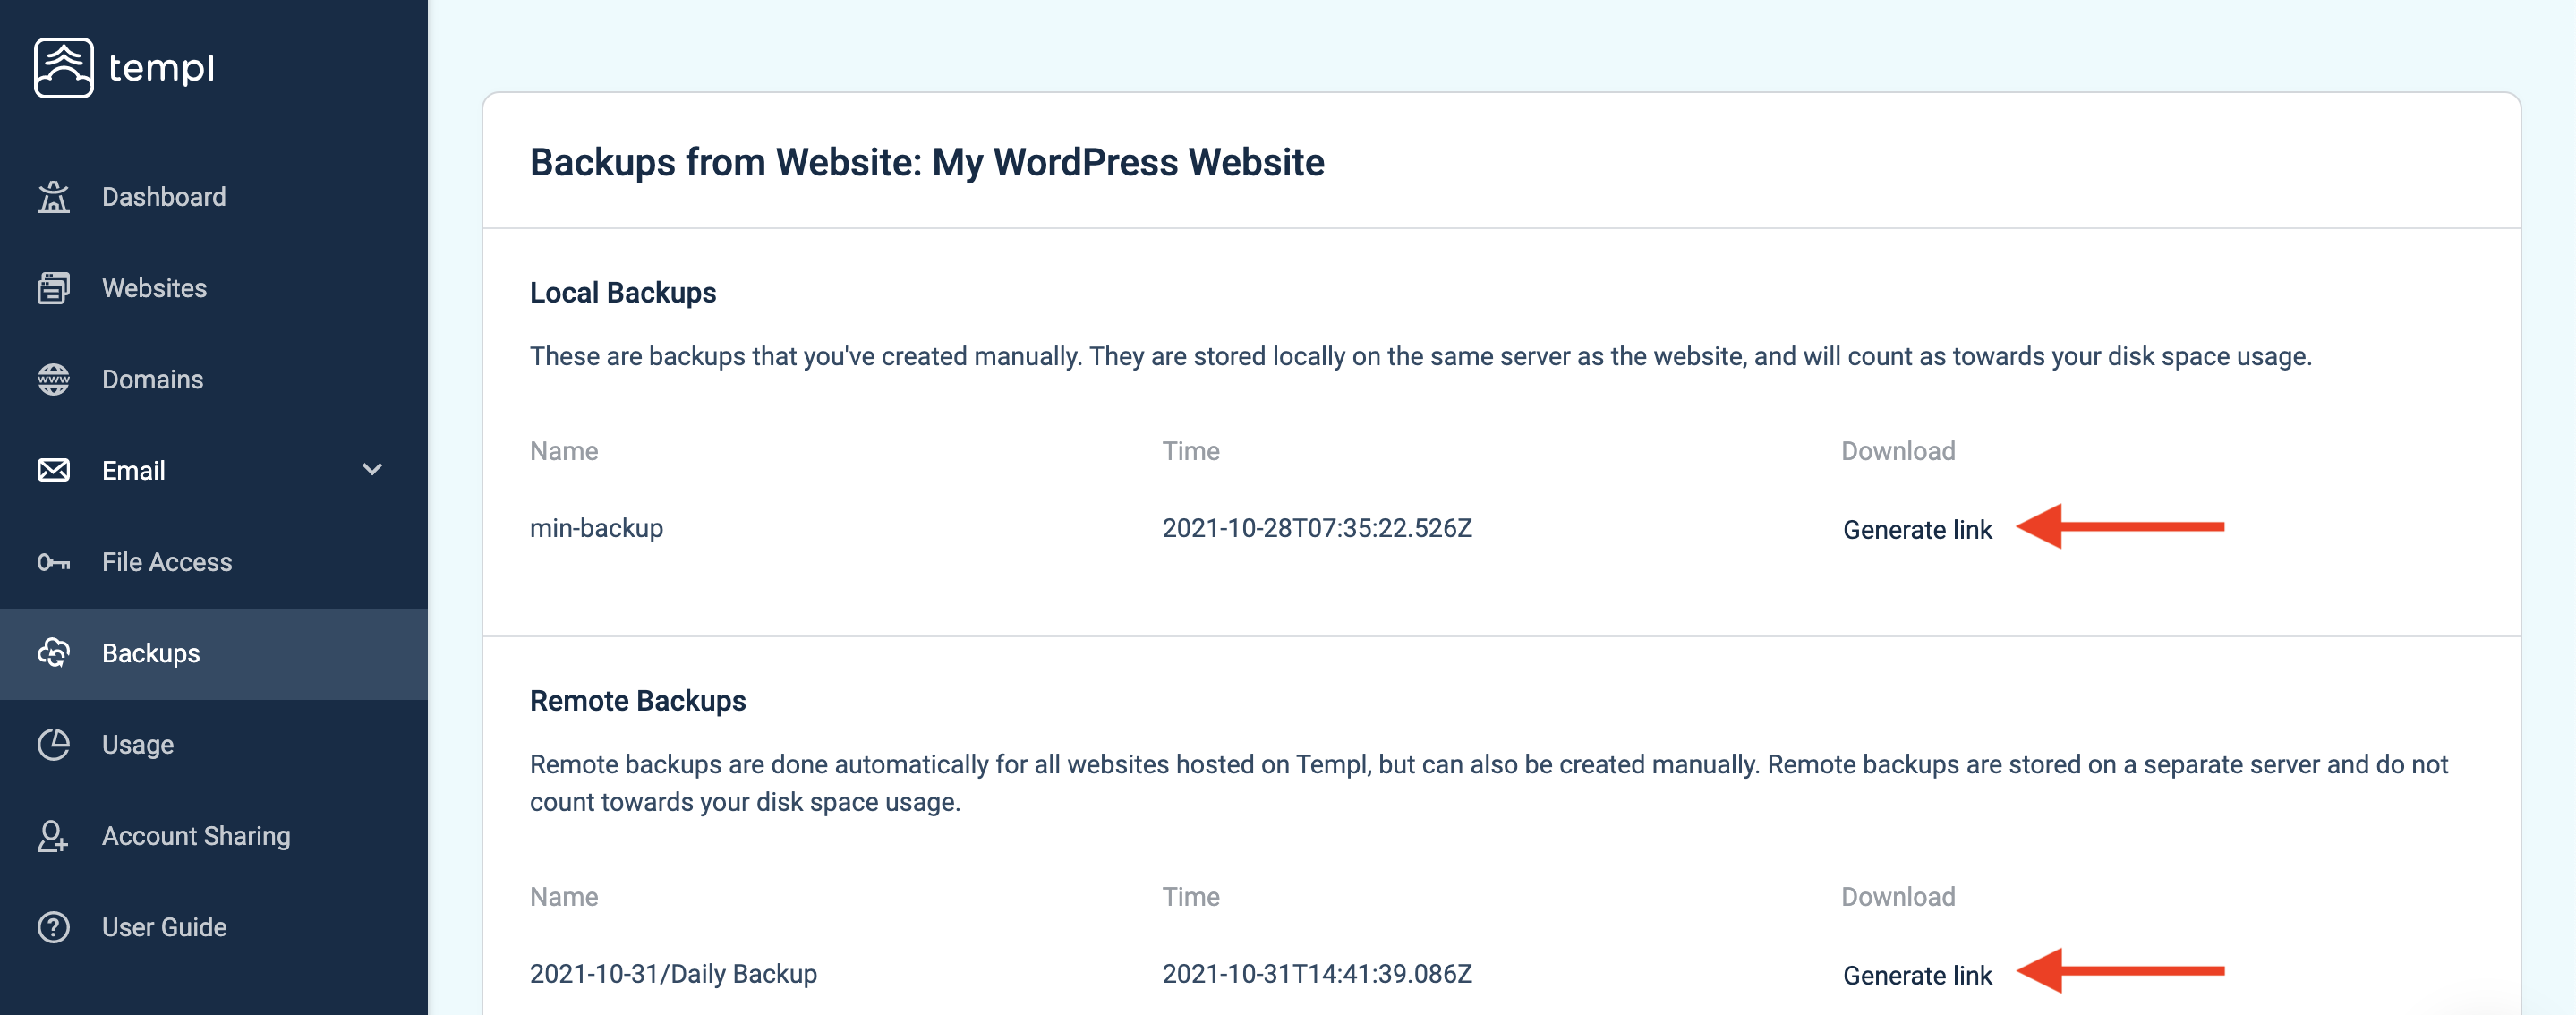
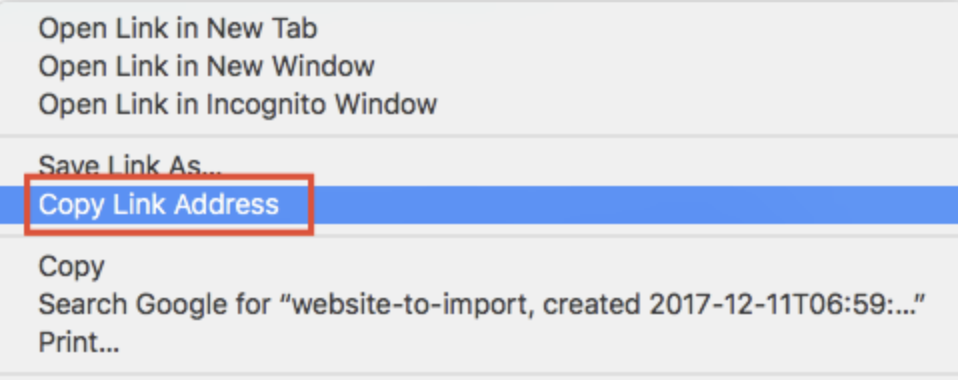
Right-click the backup link and choose Copy link address.
Step 2 - Import the backup
Open the website you want to import into, click the Import menu, change Type of File to Templ Backup, paste your backup link in the URL field, and click Continue.
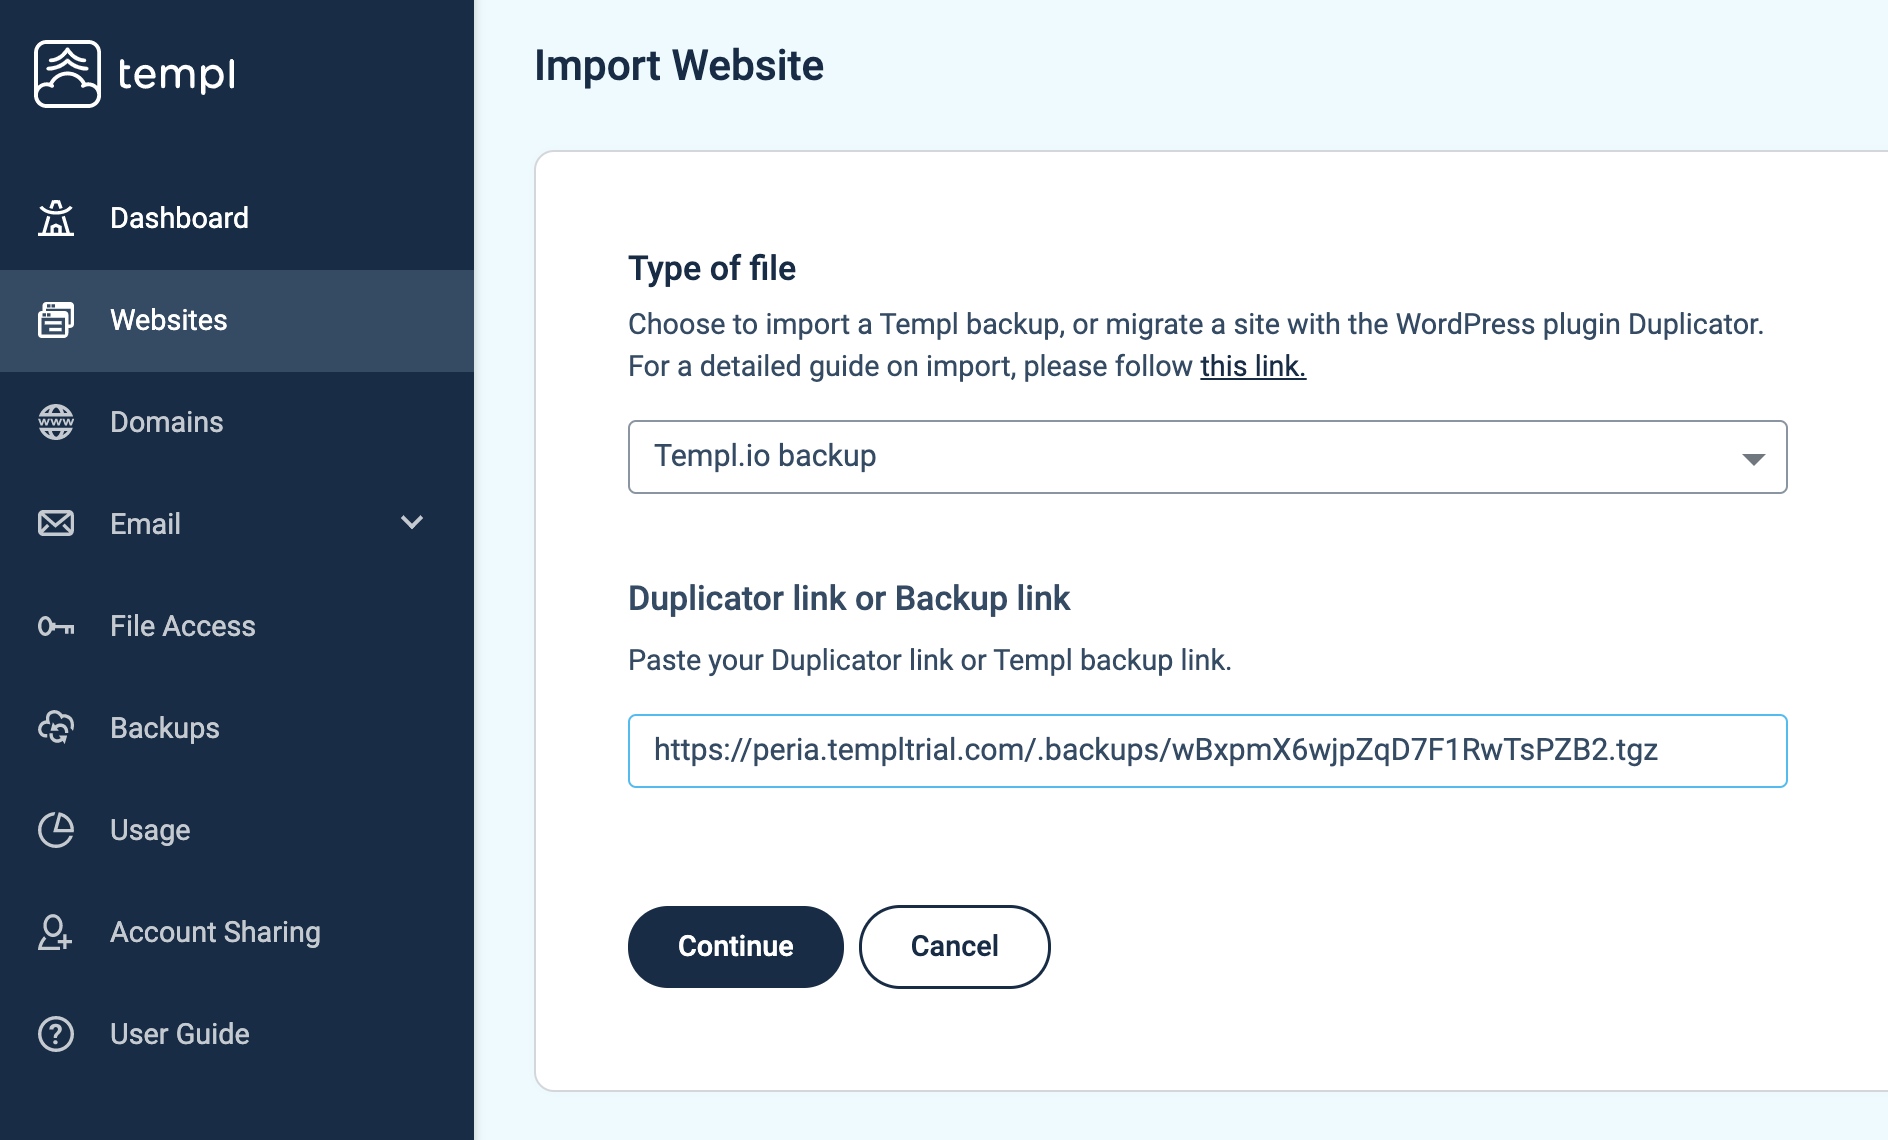
If you have the backup file locally on the server instead, upload it via SFTP and enter file:// followed by its absolute path in the URL field, for example file:///home/user_3599/my_templ_backup.tgz.
Why are newly added files still present after restoring a backup?
Restoring a backup does not delete files or folders added after the backup was taken. However, in the case of plugins and themes, all their configuration as well as their "state" (i.e. whether they are activated or not), is typically stored in the database. Restoring the database will therefore undo all their configuration even though their files will still be present after the restoration.