Migrate with Migrate Guru
Migrate Guru is a fast and easy way to migrate WordPress sites. It is simple to use, works well even with larger WordPress sites, and is compatible with Templ.
This guide helps you perform your own migration. If you would rather not do it yourself, we can handle the whole thing for you with our free migration service.
Migrate Guru offers two ways to migrate. The recommended method uses a migration key: you install Migrate Guru on both sites and paste a key from your Templ site into the source site. The older method instead asks for the SFTP details of the destination site, and is covered further down as an alternative.
Get the migration key from your Templ website
With the key method, your Templ website is the destination - the site you migrate to. If you haven't already, create the website in the Templ Panel first. WordPress comes preinstalled, so it is ready to receive the migration.
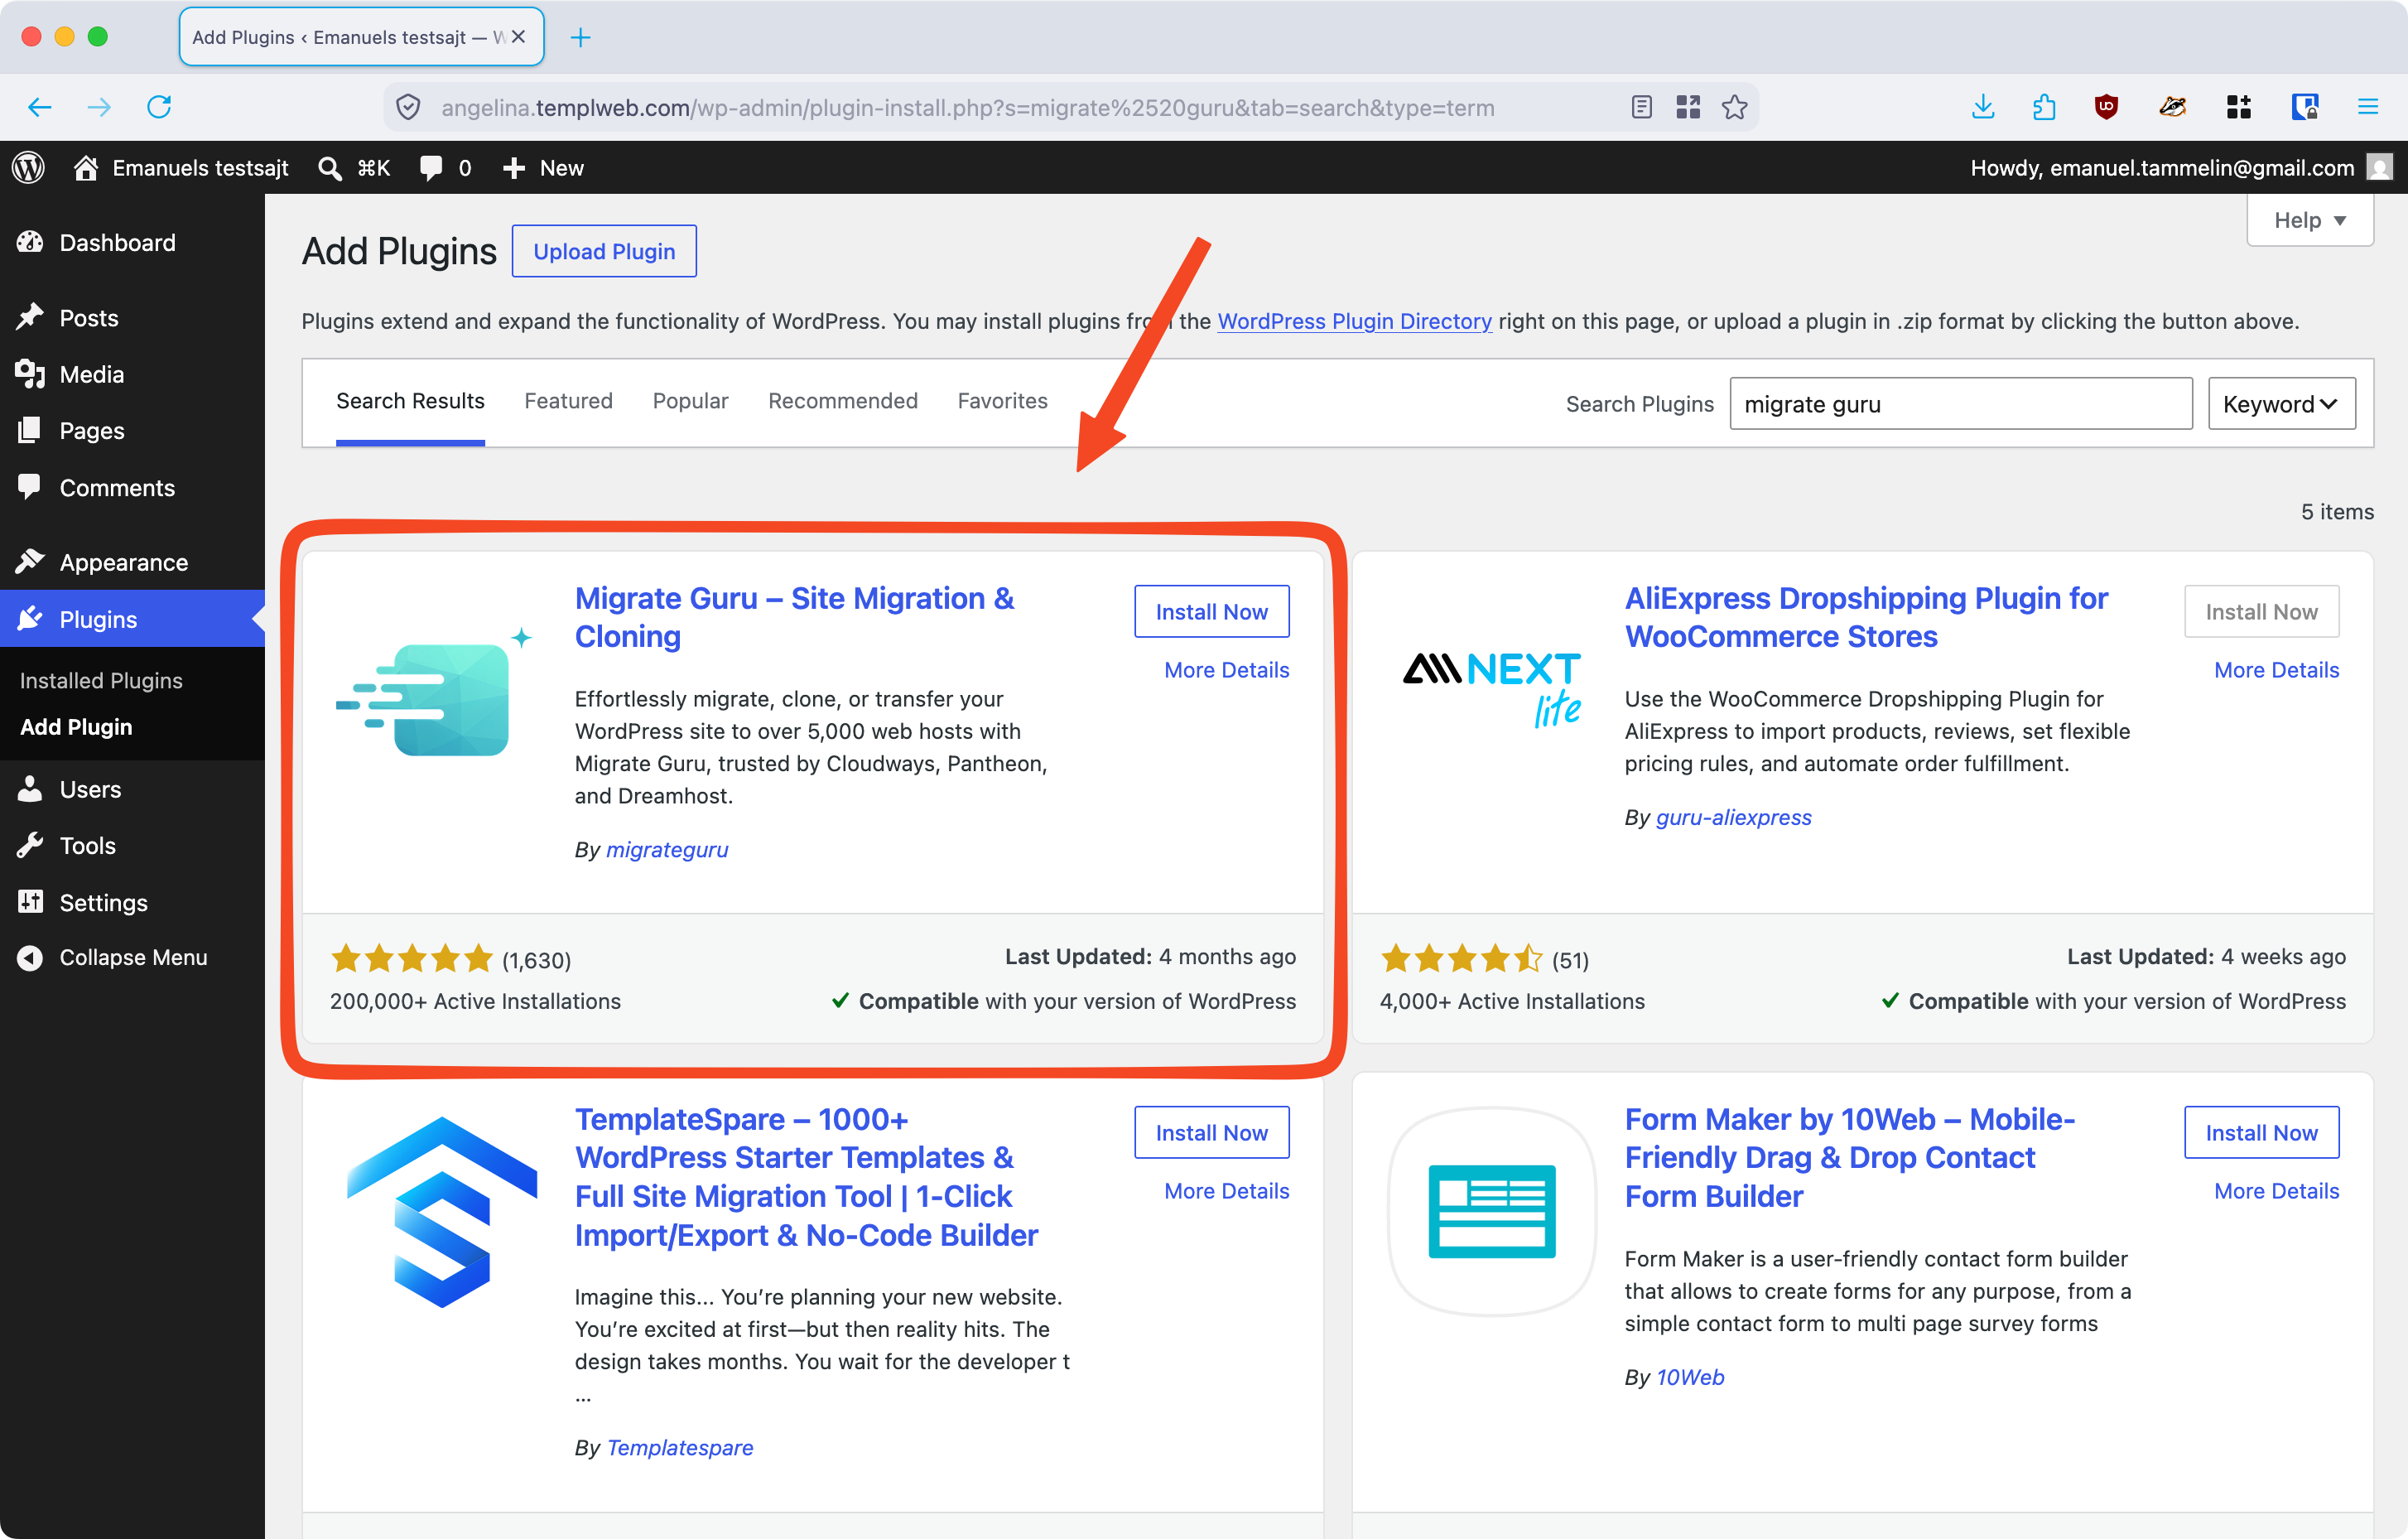
On your Templ website, open WP Admin and navigate to Plugins → Add New, search for Migrate Guru, then install and activate the plugin.
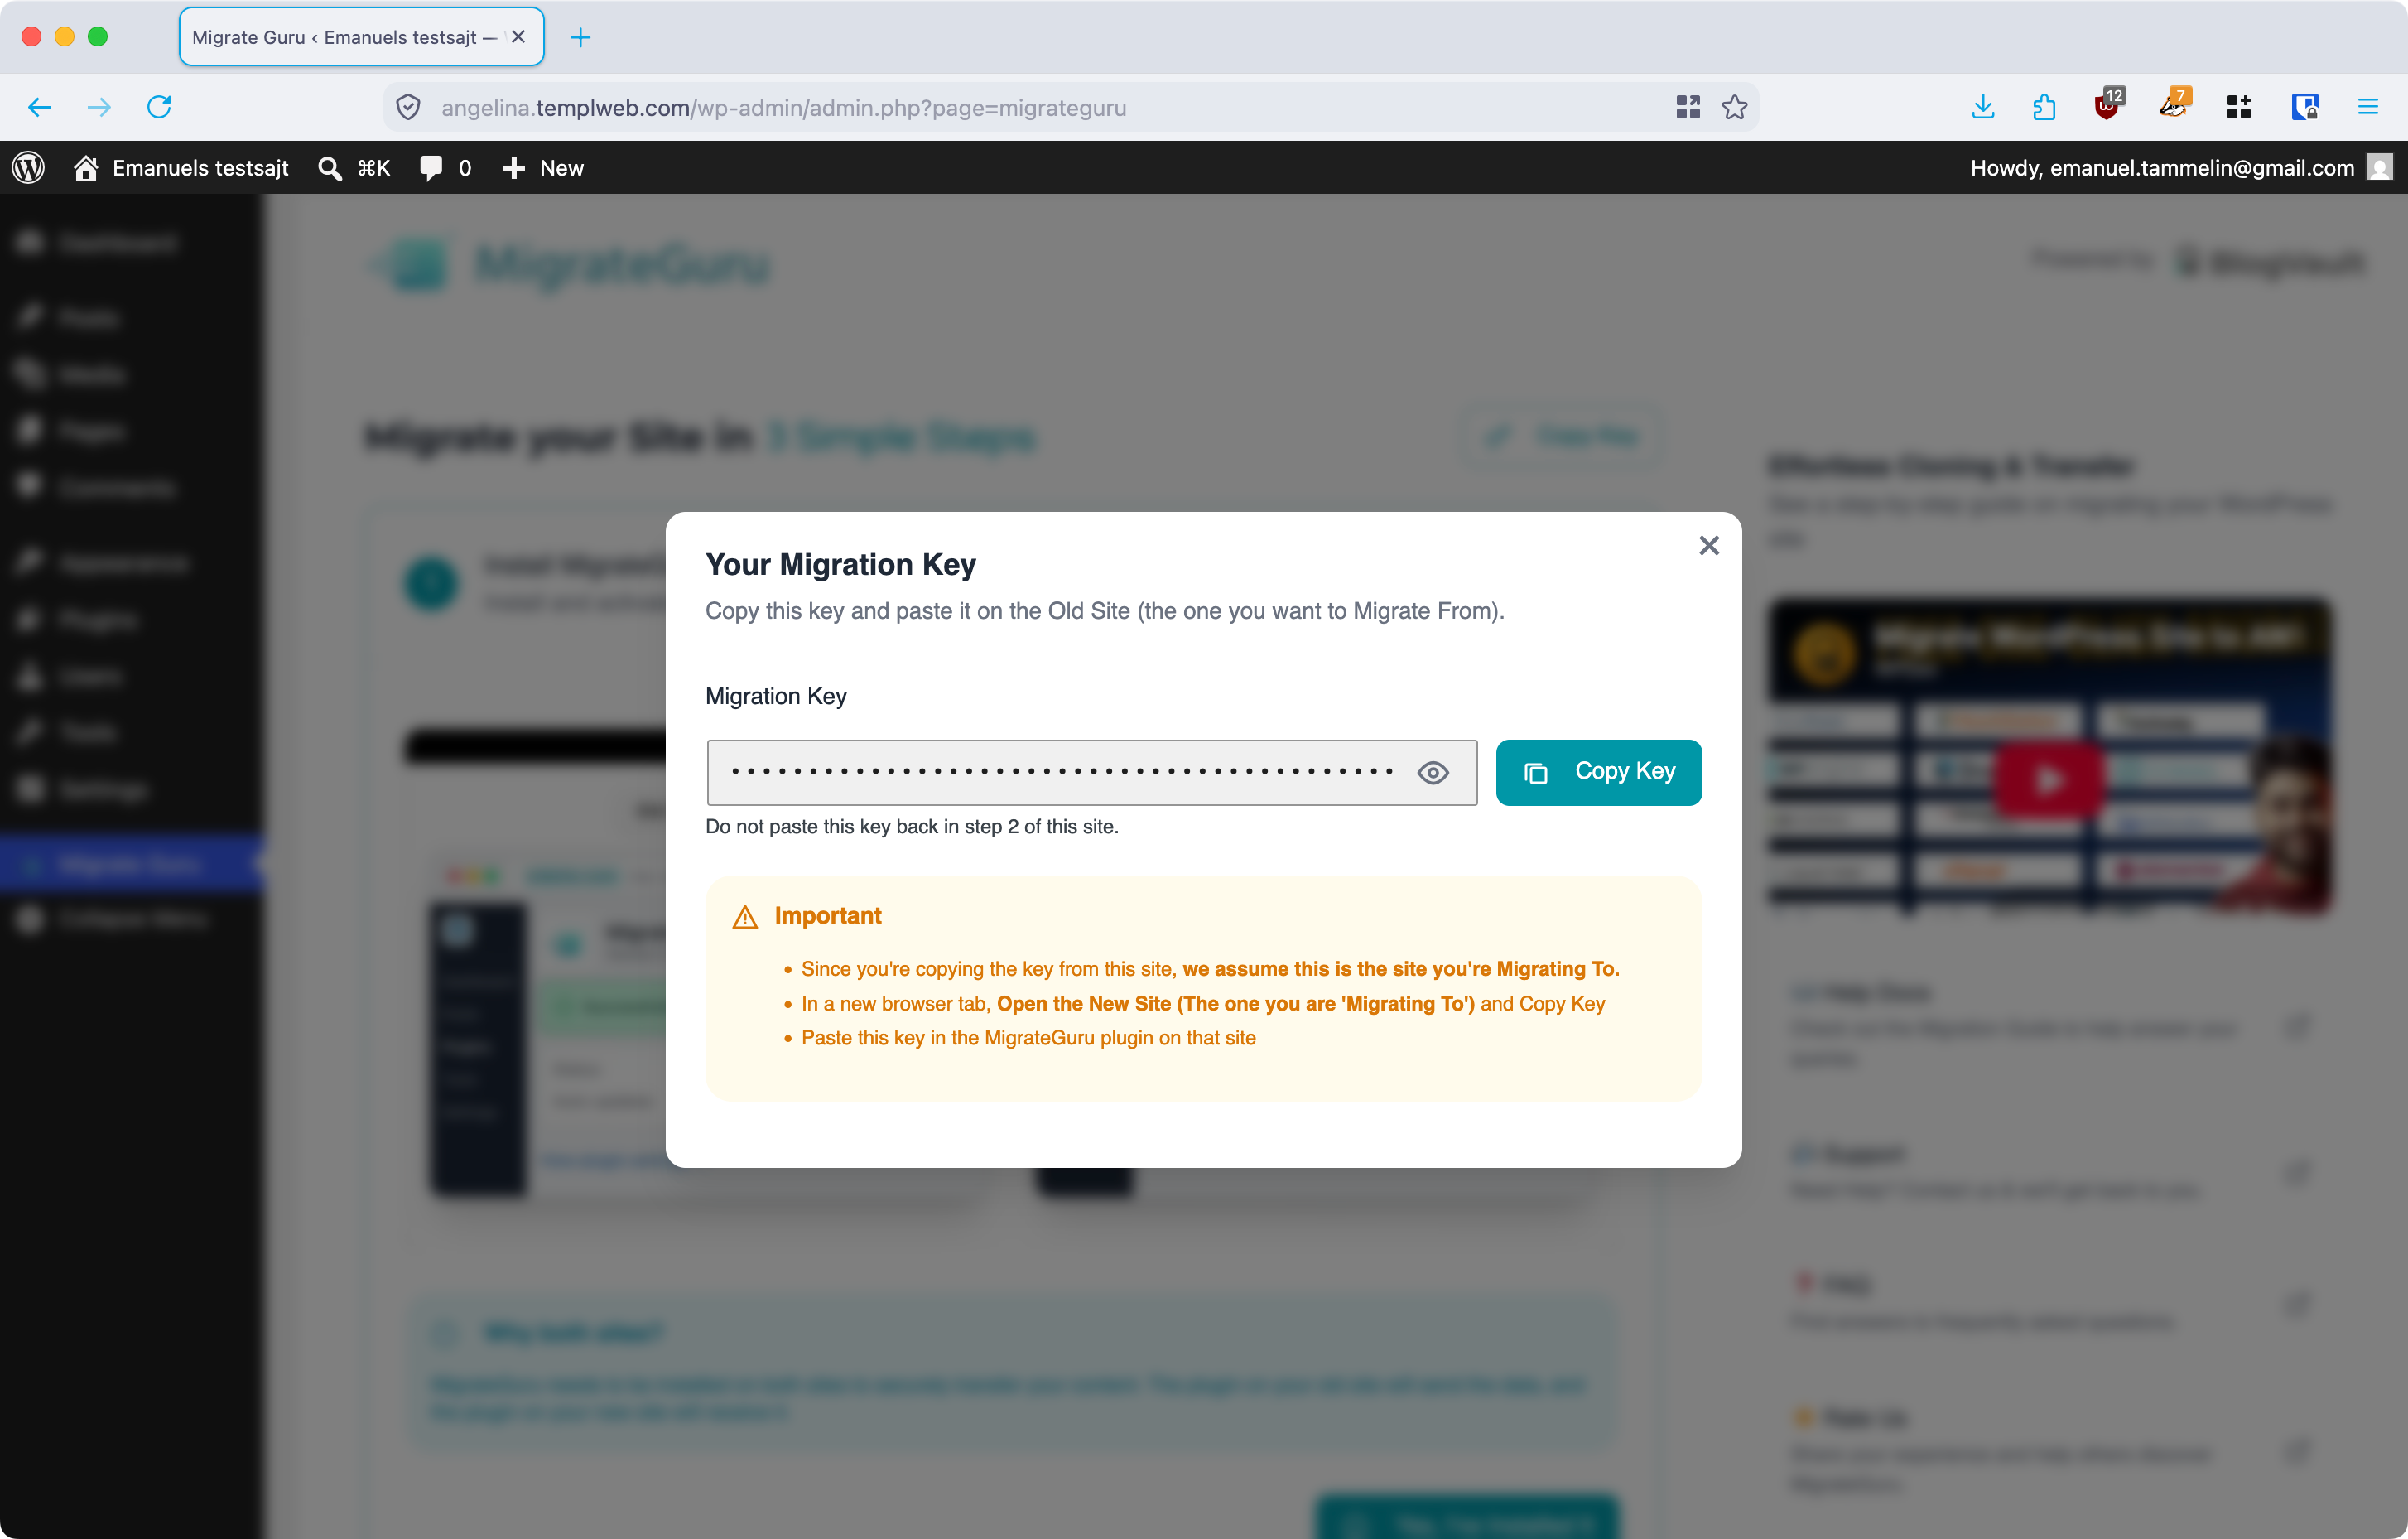
Open Migrate Guru and click Copy Key to copy the migration key it shows.
Start the migration from your source site
Now go to the site you are migrating from. Install and activate Migrate Guru there as well, then open the plugin.
Under Validate Migration Key, paste the key you copied from your Templ website and click Validate Key.
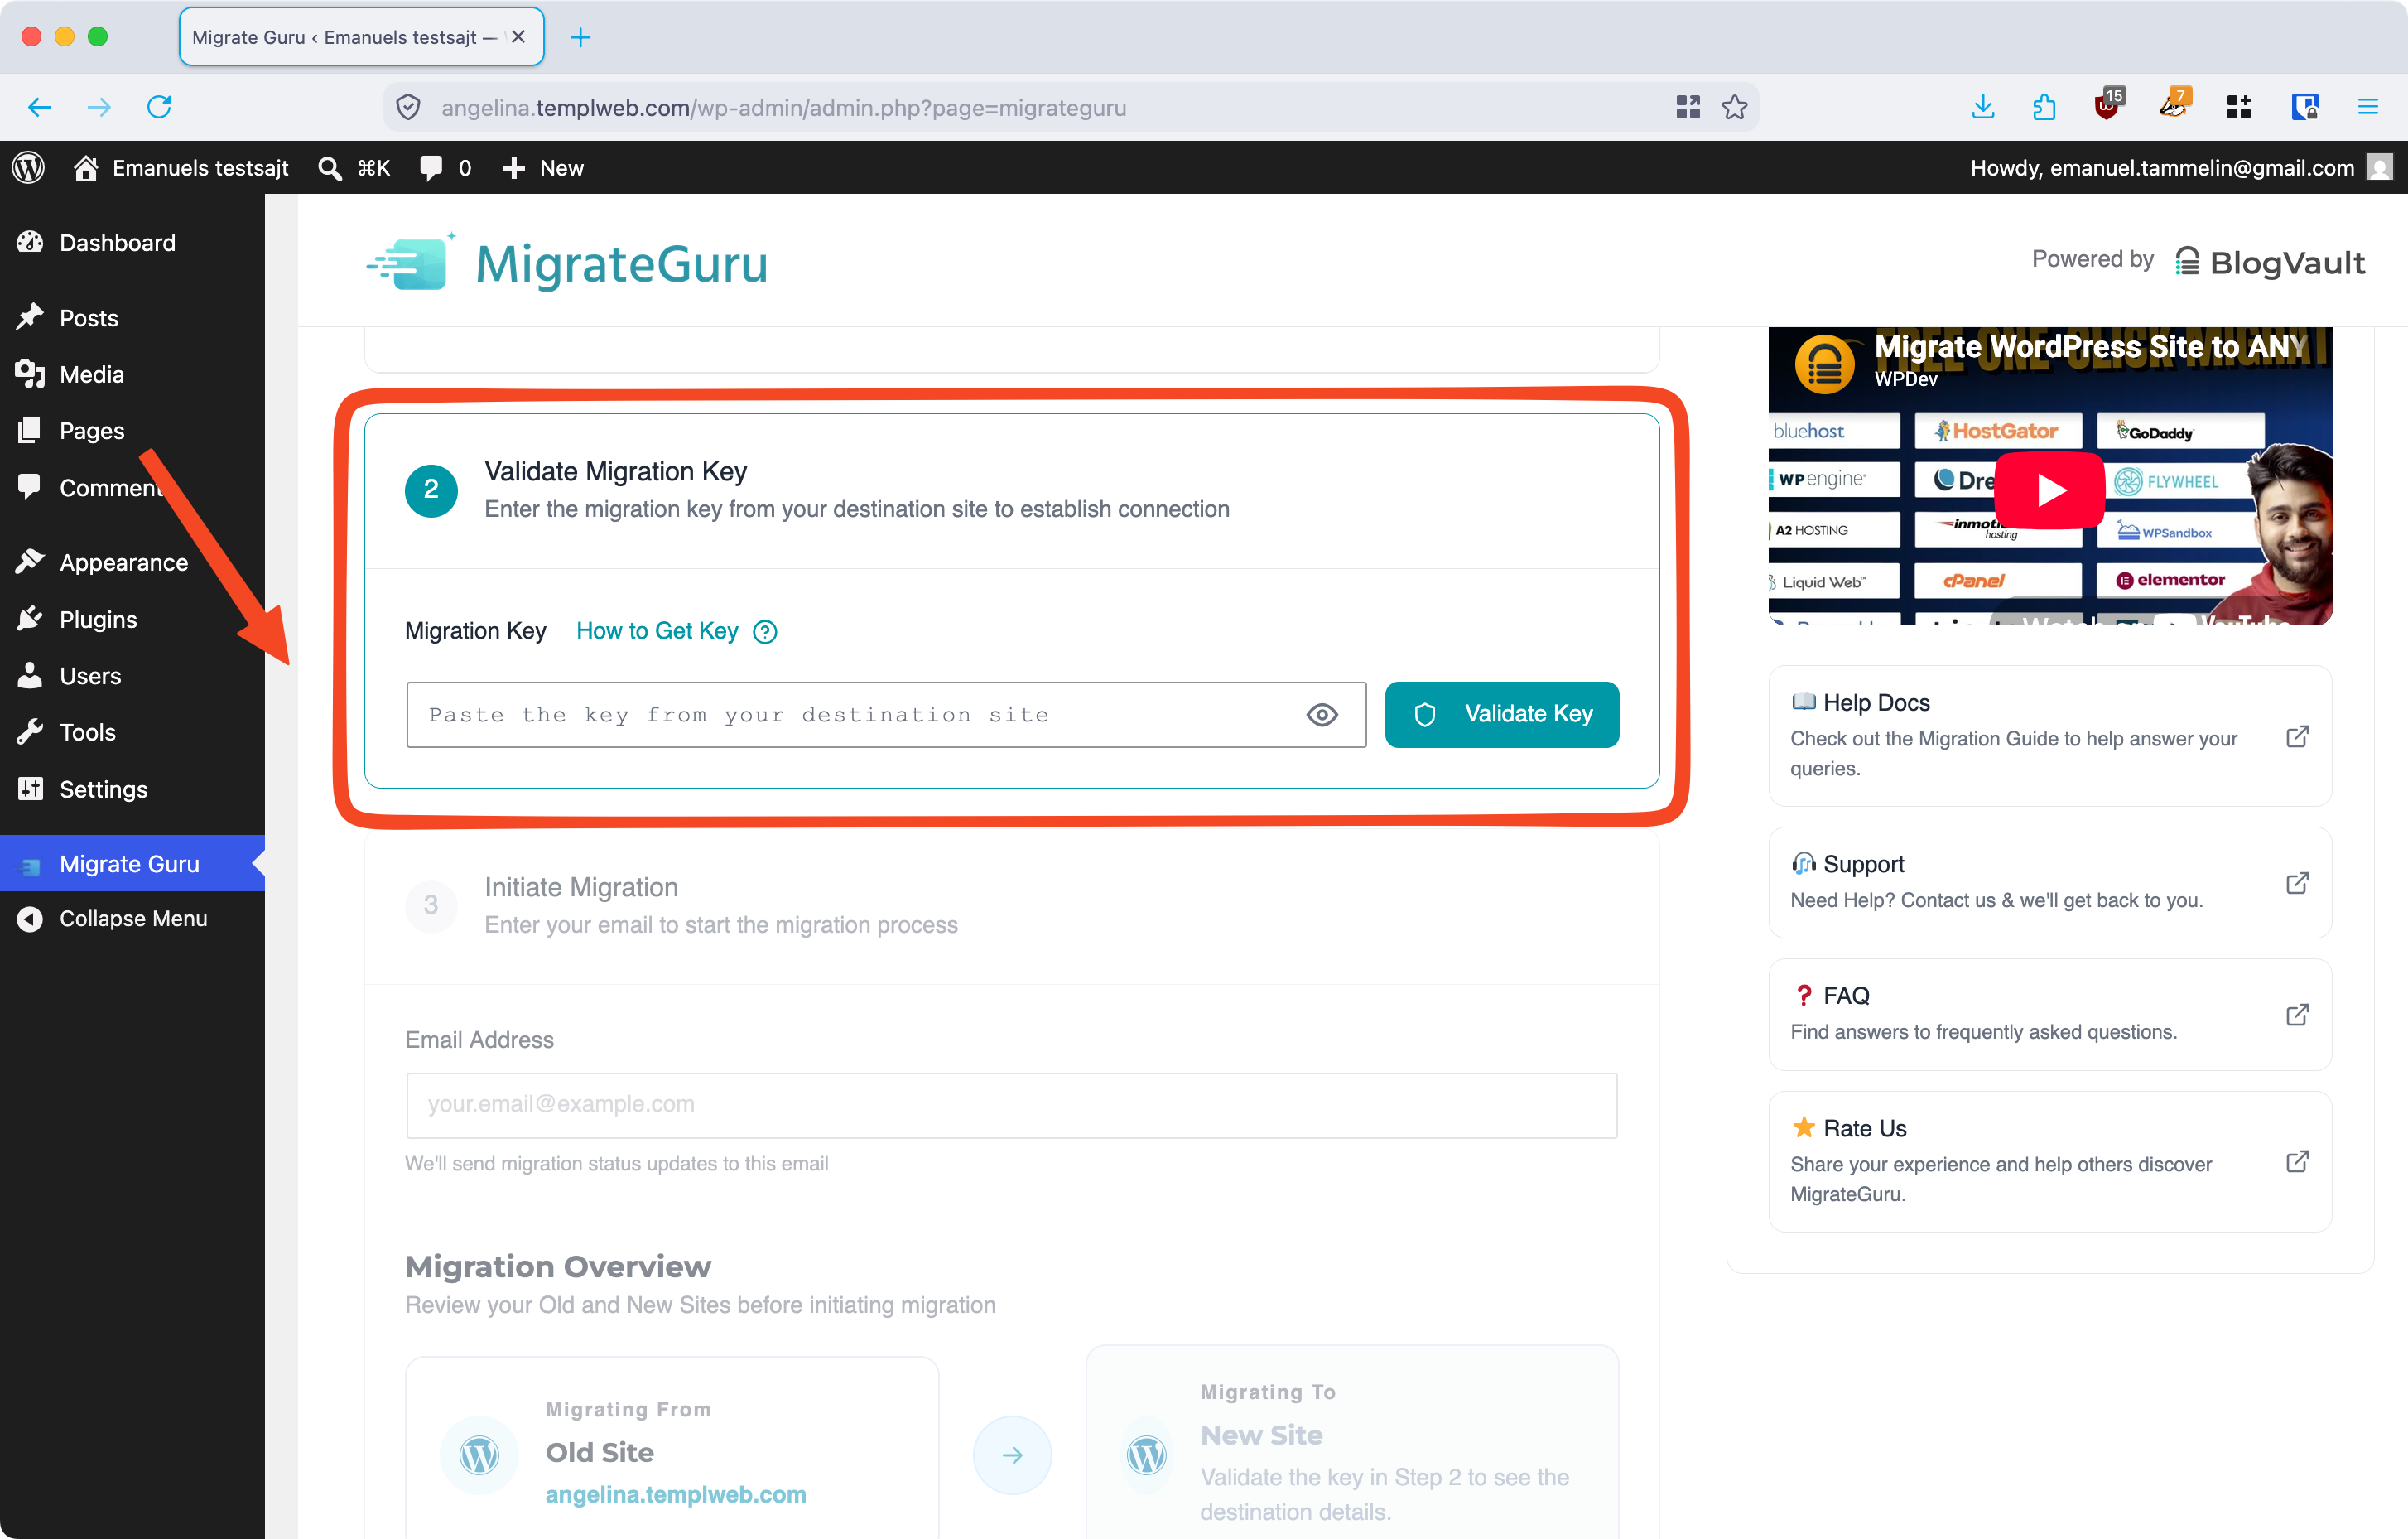
Once the key is validated, enter your email address under Initiate Migration (you will be notified by email when the migration finishes), then start the migration.
Monitor the migration
Migrate Guru runs the migration on its own servers and shows a page you can use to monitor the progress.
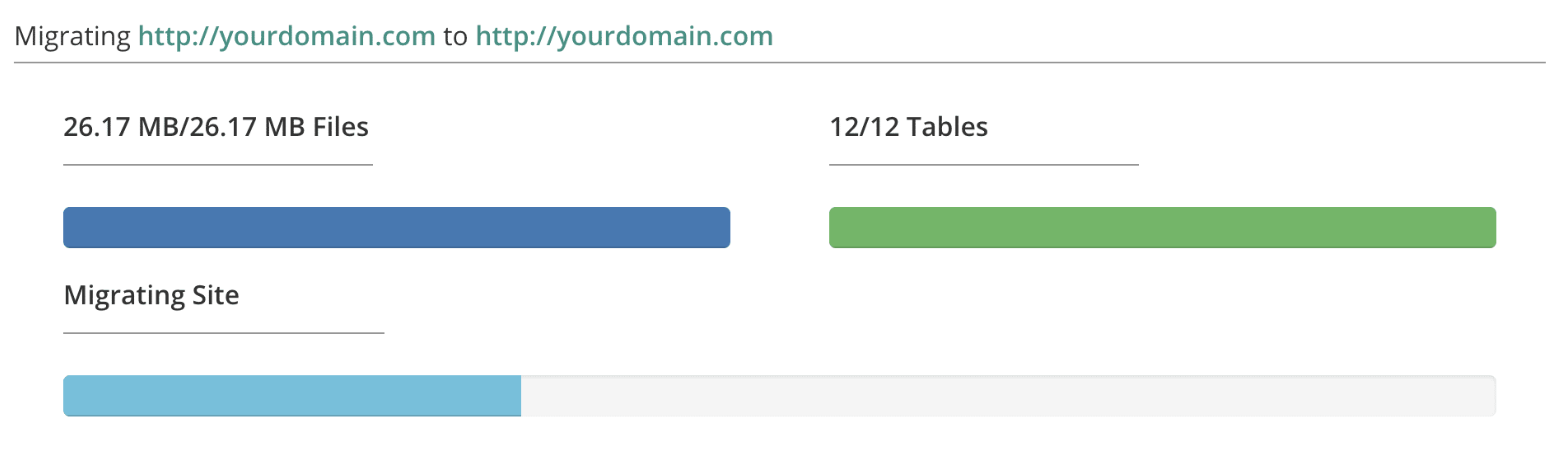
Migrate Guru will let you know as soon as the migration is complete, and you will also receive an email at that point. Larger sites can take a while to migrate. If your site is very large, you may also need to add more disk space to your Templ website.
Migrate with SFTP details (alternative)
If the key method doesn't work for you, Migrate Guru can migrate using the SFTP details of your Templ website instead. On the source site, choose the option to enter the destination host details manually rather than a migration key.
Enter the following, all of which are available on your website's Overview page in the Templ Panel:
- Destination Site URL
- FTP Type: choose SFTP
- Destination Server IP
- SFTP Port (always required - Templ does not use the default port)
- SFTP Username
- SFTP Password (or use an SSH key if you are familiar with those)
- Directory Path
The directory path is /home/user_xxxx/app_xxxx - change it to match the username and webroot shown on your website's Overview page. If your SFTP password isn't enabled yet, enable it first.
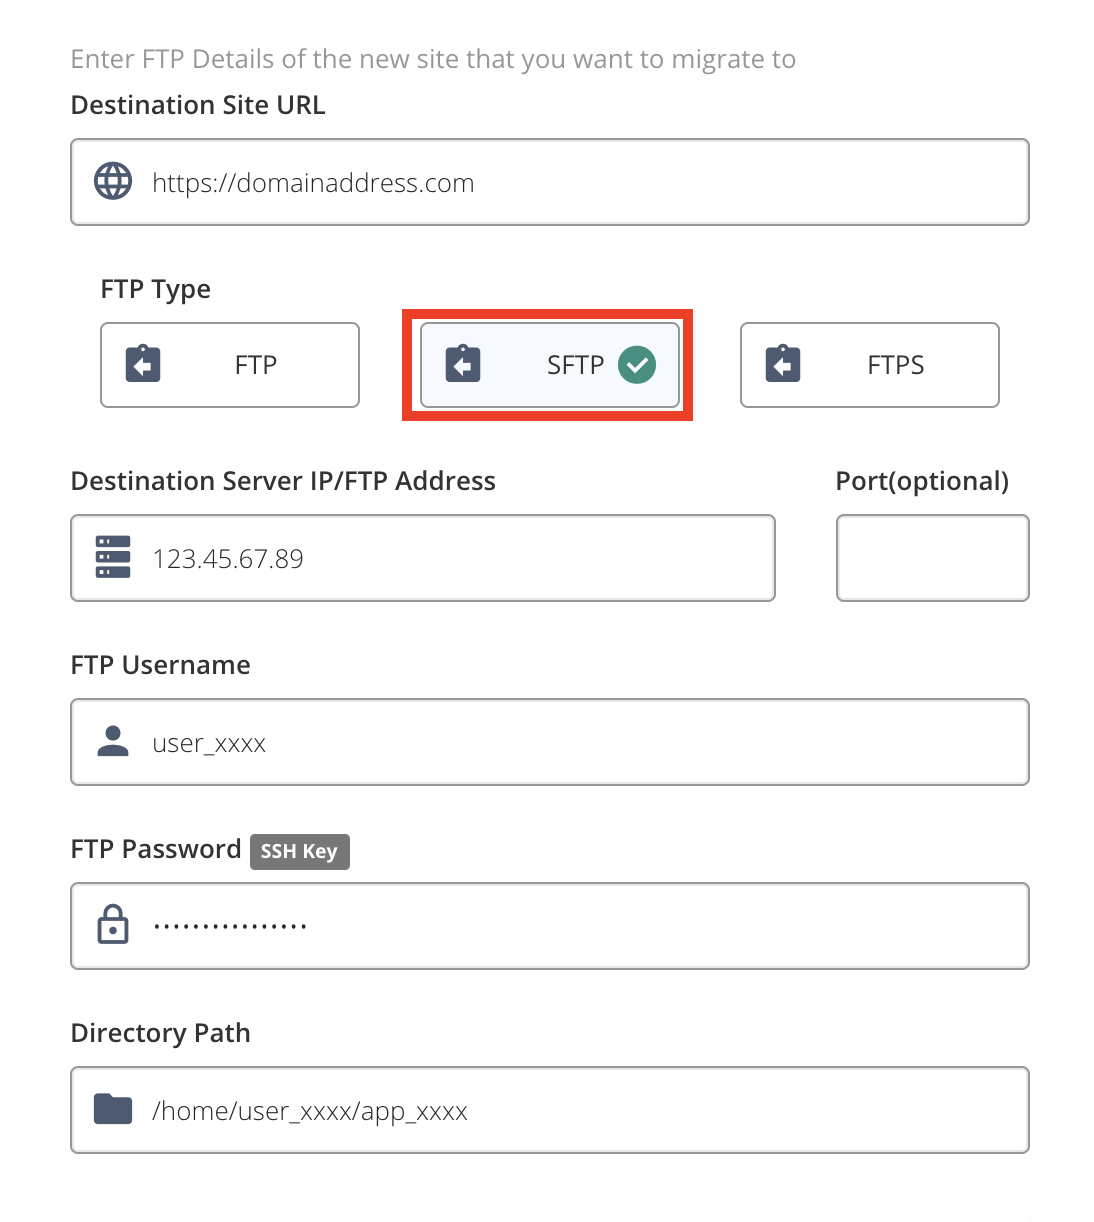
Unlike the key method, this form has dedicated HTTP authentication fields, so you can leave password protection enabled on the Templ site and enter its credentials here.
Scroll down to Add Folders and add any folders of yours that are not wp-content, wp-includes, or wp-admin. Once everything is filled in, click Migrate.
Migrate Guru will test the SFTP credentials you provided. If there are any problems, it returns to the SFTP details screen and highlights the fields to review. If you don't enter the correct directory path or destination address, you'll see this error:
Unable to access wpconfig file. Please check if WordPress is installed on the destination address. Also, check if you have permission to access the folder.
Test the migrated site
Once the migration is complete you should take a few minutes to inspect the migrated site.
If your site is using a Templ domain, use that address to have a look around. While reviewing your migrated site be sure to navigate to several front-end pages as well as to log into your site and navigate to several pages of the admin area. If your site has a lot of data make sure all of your data is showing up properly.
Go live
Once you've verified the migrated site, connect your domain: add your domain to the Templ Panel, assign it to the website, and update your name servers to point to Templ. If you want to keep email and other DNS services where they are, change only the A-record instead.