Manage DNS
DNS records control where your domain's website and email traffic goes. When Templ manages your DNS, we handle the records needed for your Templ-hosted website and email delivery through Templ SMTP - no manual DNS setup is needed.
External services, such as Google site verification, may need additional records. You can add these yourself or ask support to help.
Access DNS management
Templ defaults to Cloudflare for new managed DNS setups and still uses Google Cloud DNS for existing setups.
Cloudflare
Manage records in the Cloudflare dashboard or ask Templ support to make changes. Support can arrange dashboard access for you. Cloudflare DNS is not integrated into the Templ Panel.
Google Cloud DNS
Manage records in the Templ Panel. The instructions below for creating, editing, and deleting records apply to this provider.
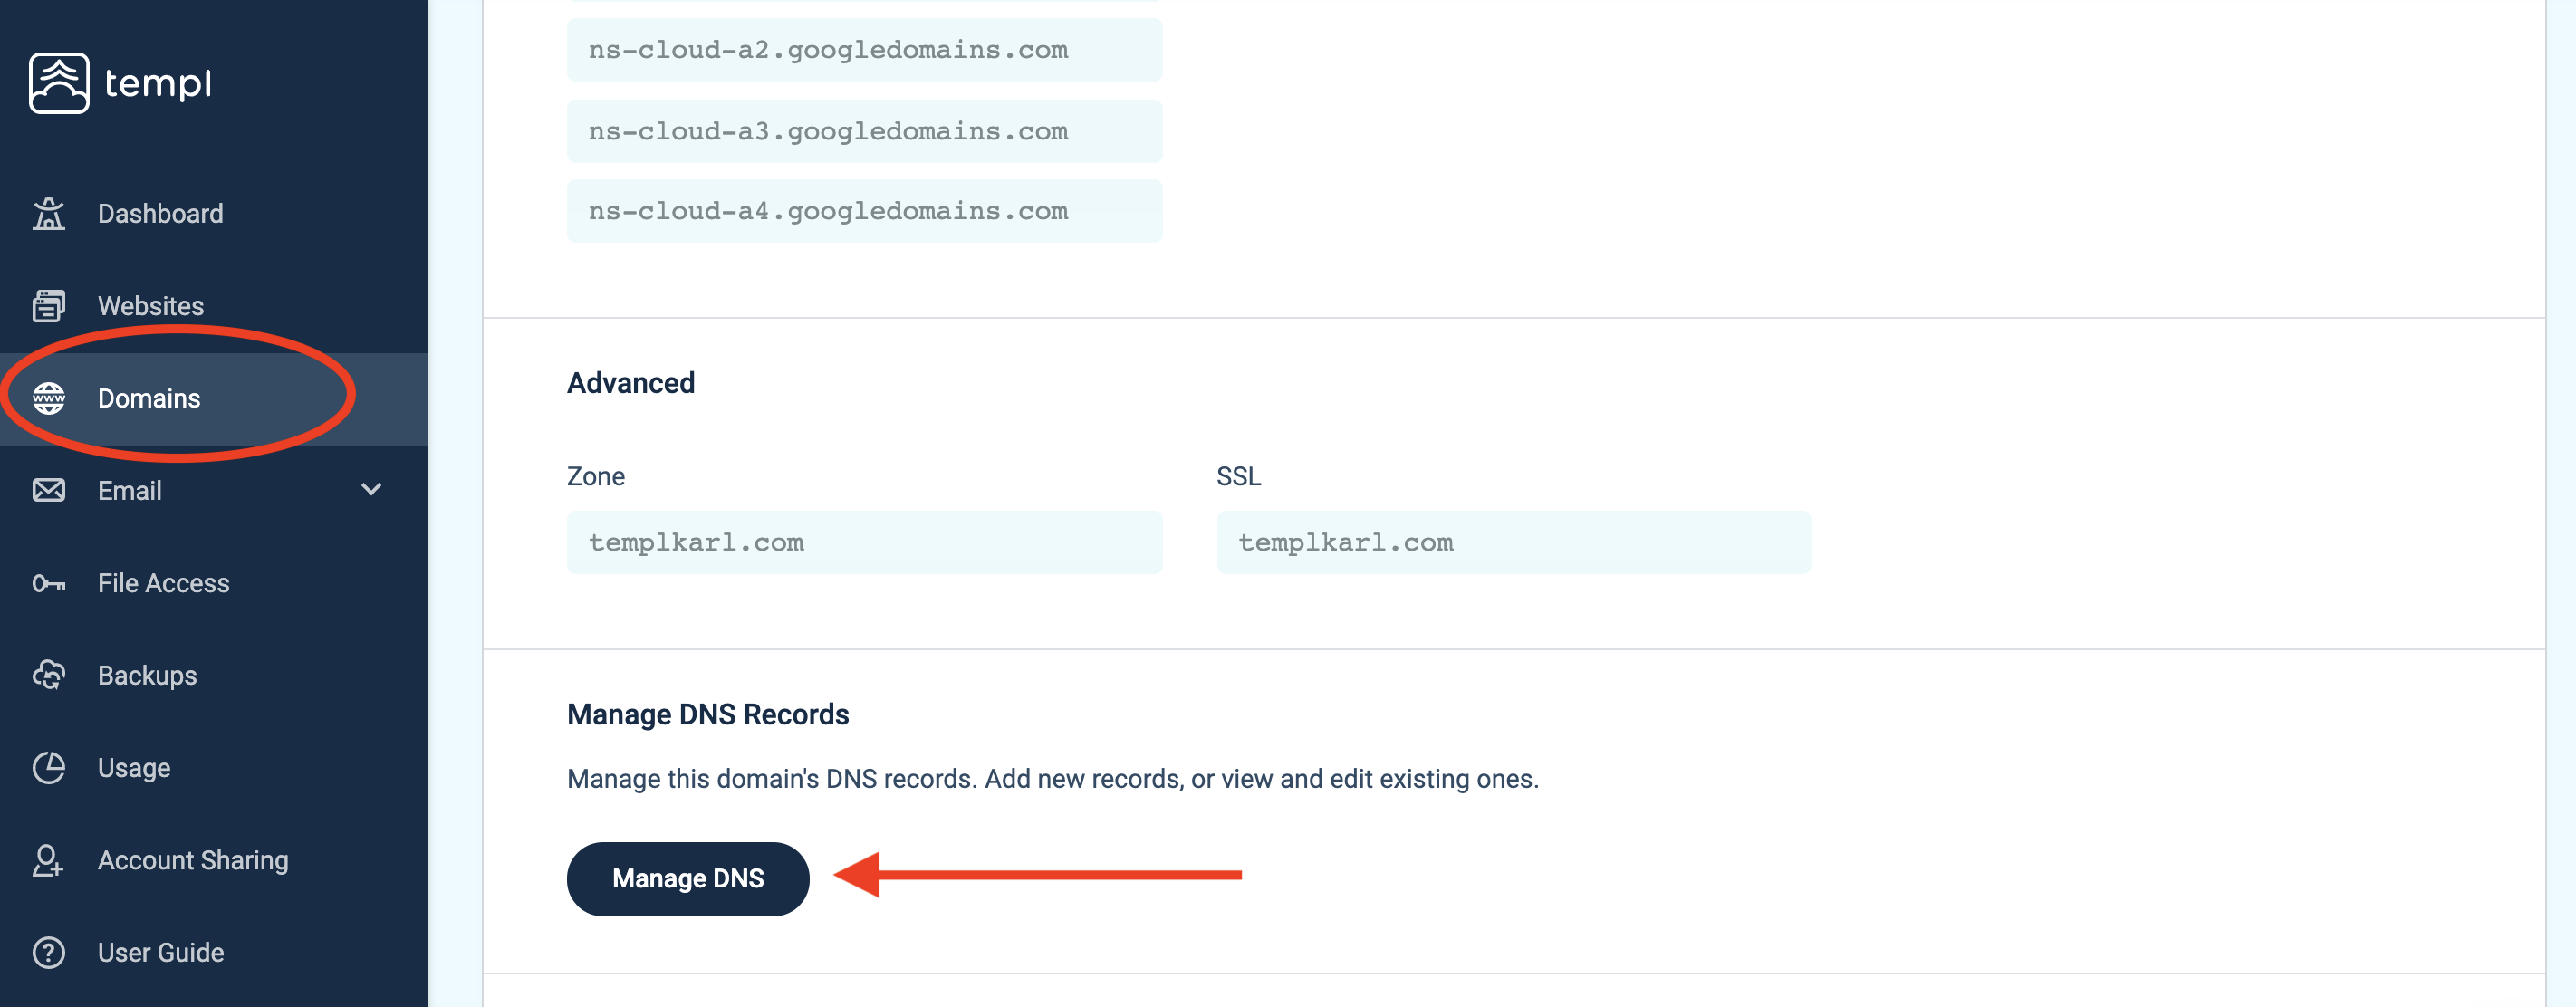
Start by clicking Domains in the left menu, then click on your domain that you want to access DNS management for and scroll down to DNS Management and click Manage DNS.
Create a new DNS record
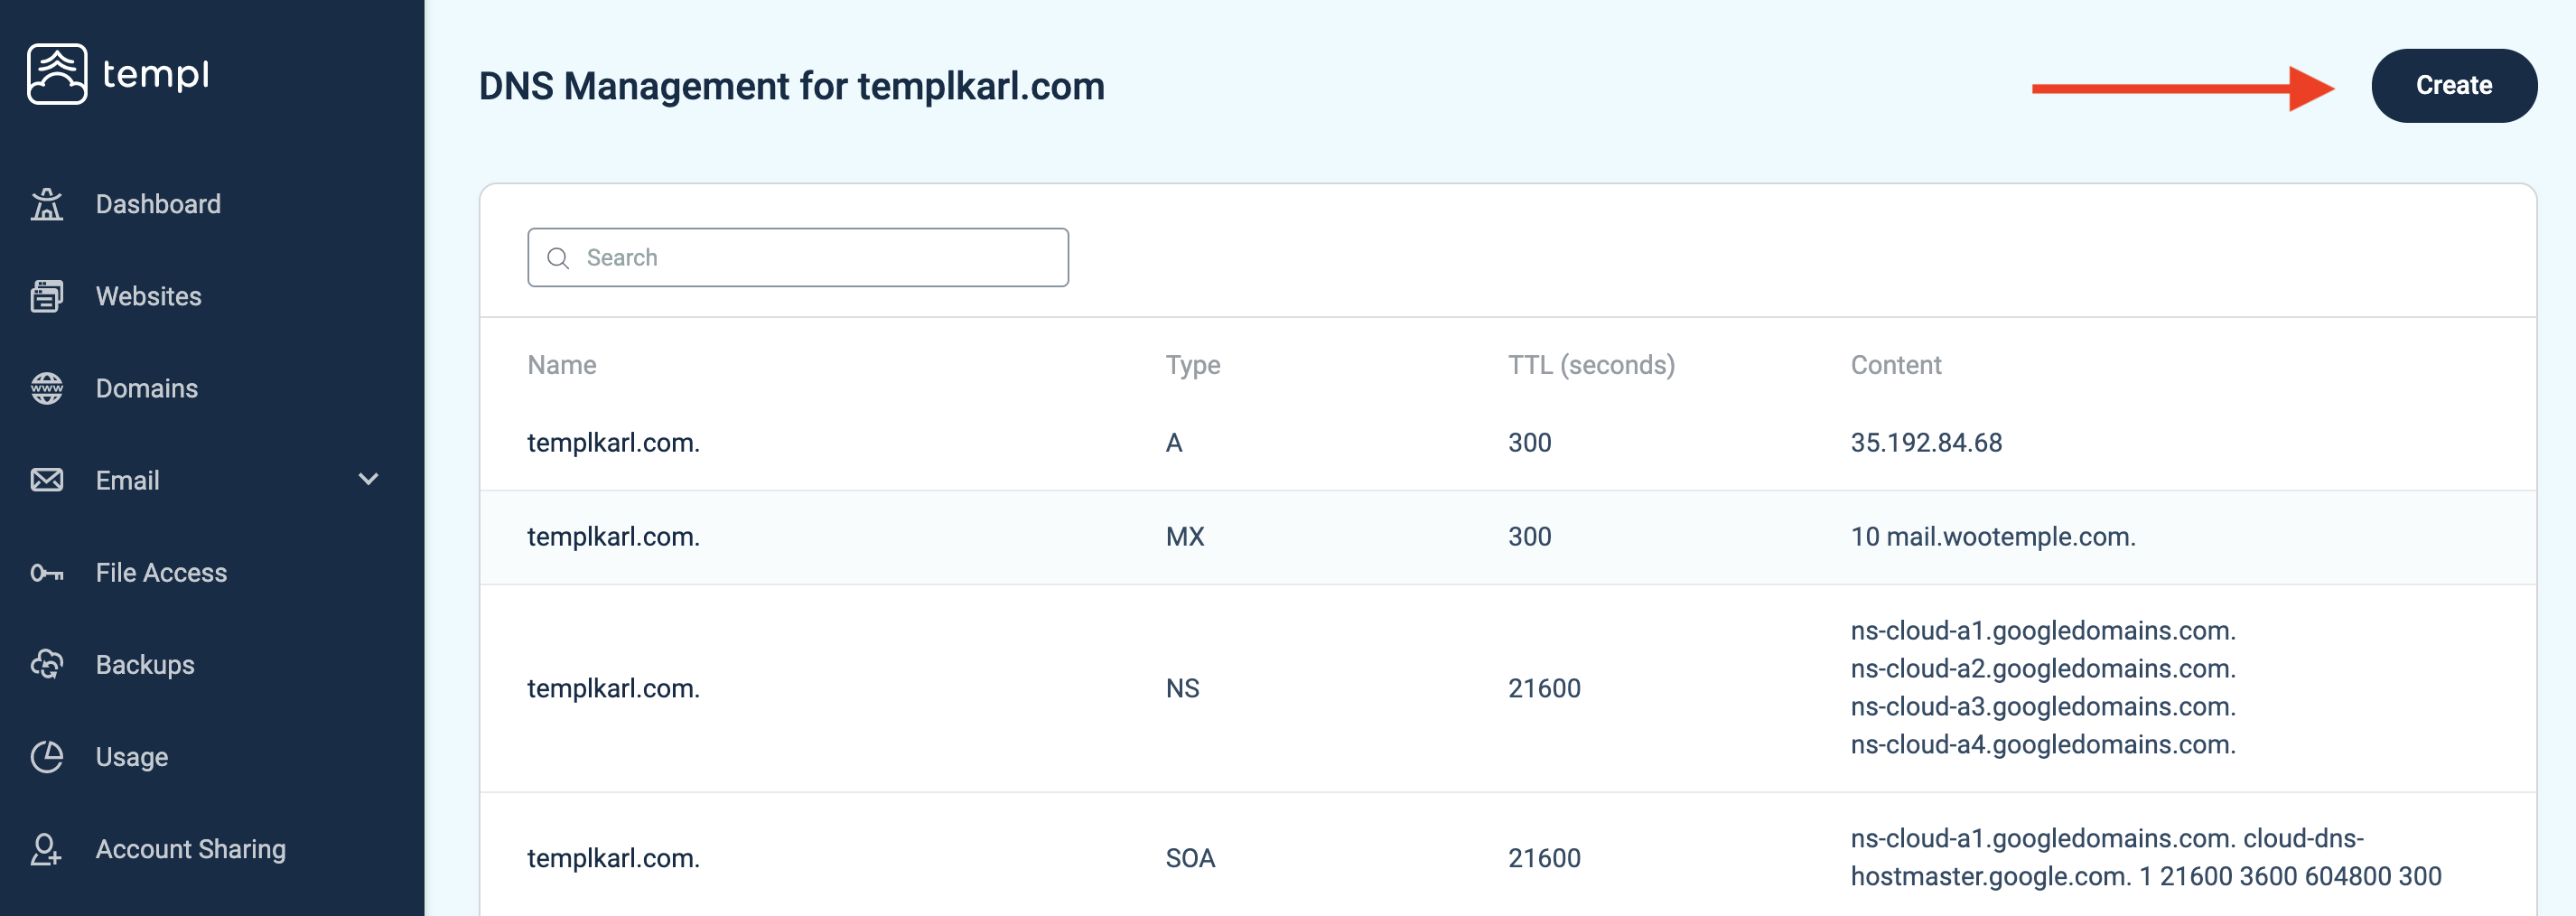
To create a new DNS record, click the Create button in the top right.
A window will pop up which will let you add new DNS records.
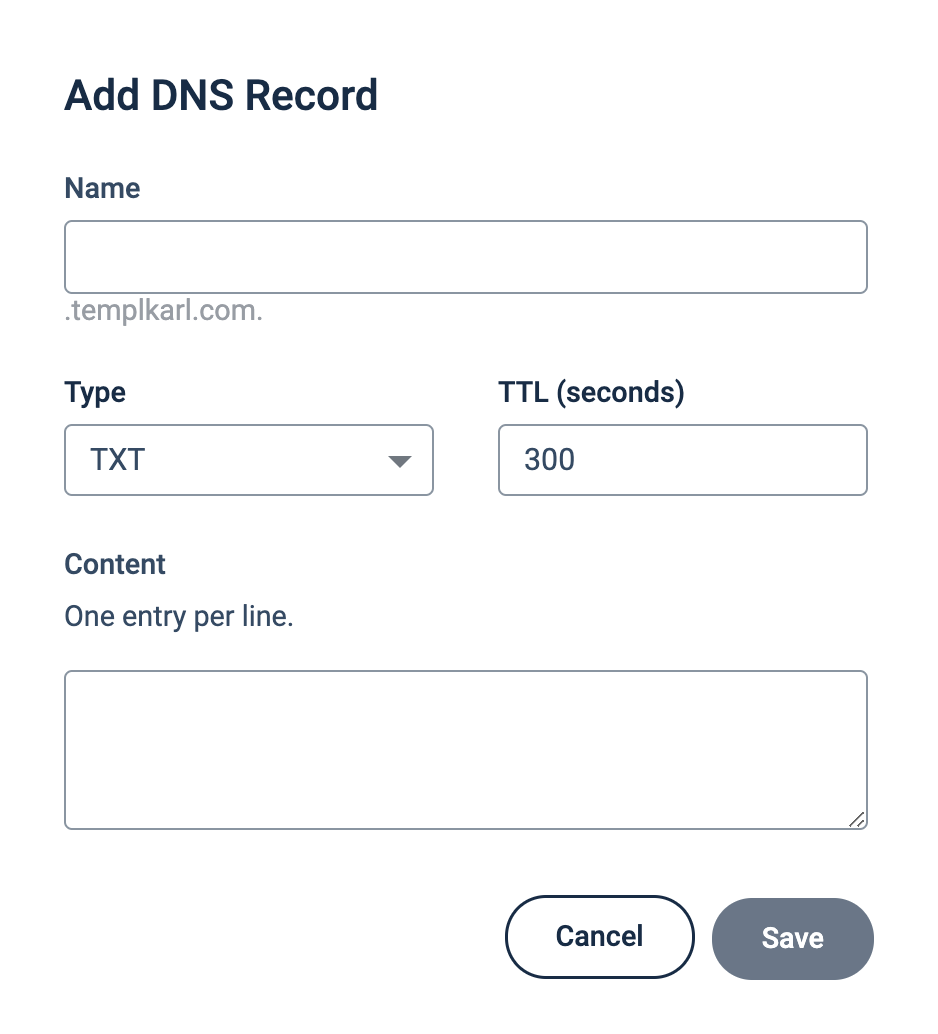
Choose the type of DNS record you want to add then fill in the content of the entry. Remember to add one entry per line if you need to add multiple entries for the same record.
How to add a TXT verification record
TXT verification records (like Google site verification) are usually added to an existing TXT record rather than a new one. For a full walkthrough, see Verify Google Search Console.
You may need to wait a few minutes for the DNS to propagate (update) around the world. The easiest way to check if your DNS records have propagated is to use DNS Checker.
Modify other existing DNS records
In the DNS management area, click on the DNS record you want to modify. Some common DNS records that often require modifications are TXT records and MX records.
Delete a DNS record
In the DNS management area, click on the DNS record you want to delete. In the popup window click Delete in the bottom left to delete the DNS record.
MX records
Mail Exchange (MX) records direct a domain's incoming email. Multiple MX records can be defined for a domain, each with a different priority. If mail can't be delivered using the highest priority record, the second priority record is used, and so on.
MX Record example:
10 mail.wootemple.com.
Here 10 is the priority and mail.wootemple.com is our email server.